
Flatlay Photography Tips for Small Business Owners — How to Style & Shoot Beautiful Flatlays at Home
The flatlay. Love it or loathe it, it remains one of the most effective formats for product photography — especially for small businesses selling online. A well-executed flatlay communicates your brand aesthetic instantly, shows your product in context, and gives customers the visual inspiration they need to click "buy." The term flatlay is also known as an overhead shot or Birds Eye view.
The problem is, most flatlay advice on the internet is either too vague ("use good light!") or too Pinterest-perfect to feel achievable. So here's a practical, honest guide to shooting flatlays at home — even if you're starting from scratch.
The single most important thing: light
Before you think about props, surfaces, or composition, sort your light. A beautifully styled flatlay shot in bad light will always look worse than a simple setup shot in great light.
For flatlays, you want soft, even, with subtle shadows - and a window with indirect light on a sunny day is perfect for this, like a north-facing window. Position your shoot surface on the floor or a table next to the window, with the light coming in from the side or top. Avoid direct sunshine (it creates harsh shadows) and avoid shooting at night using the house lights (it creates a yellow colour cast).
One hack that makes a real difference: use a large white foam board on the opposite side of your setup to the window. This bounces light back into the shadows and evens everything out. You can pick these up from any art supply shop for a few pounds, or use a white bedsheet or white box.
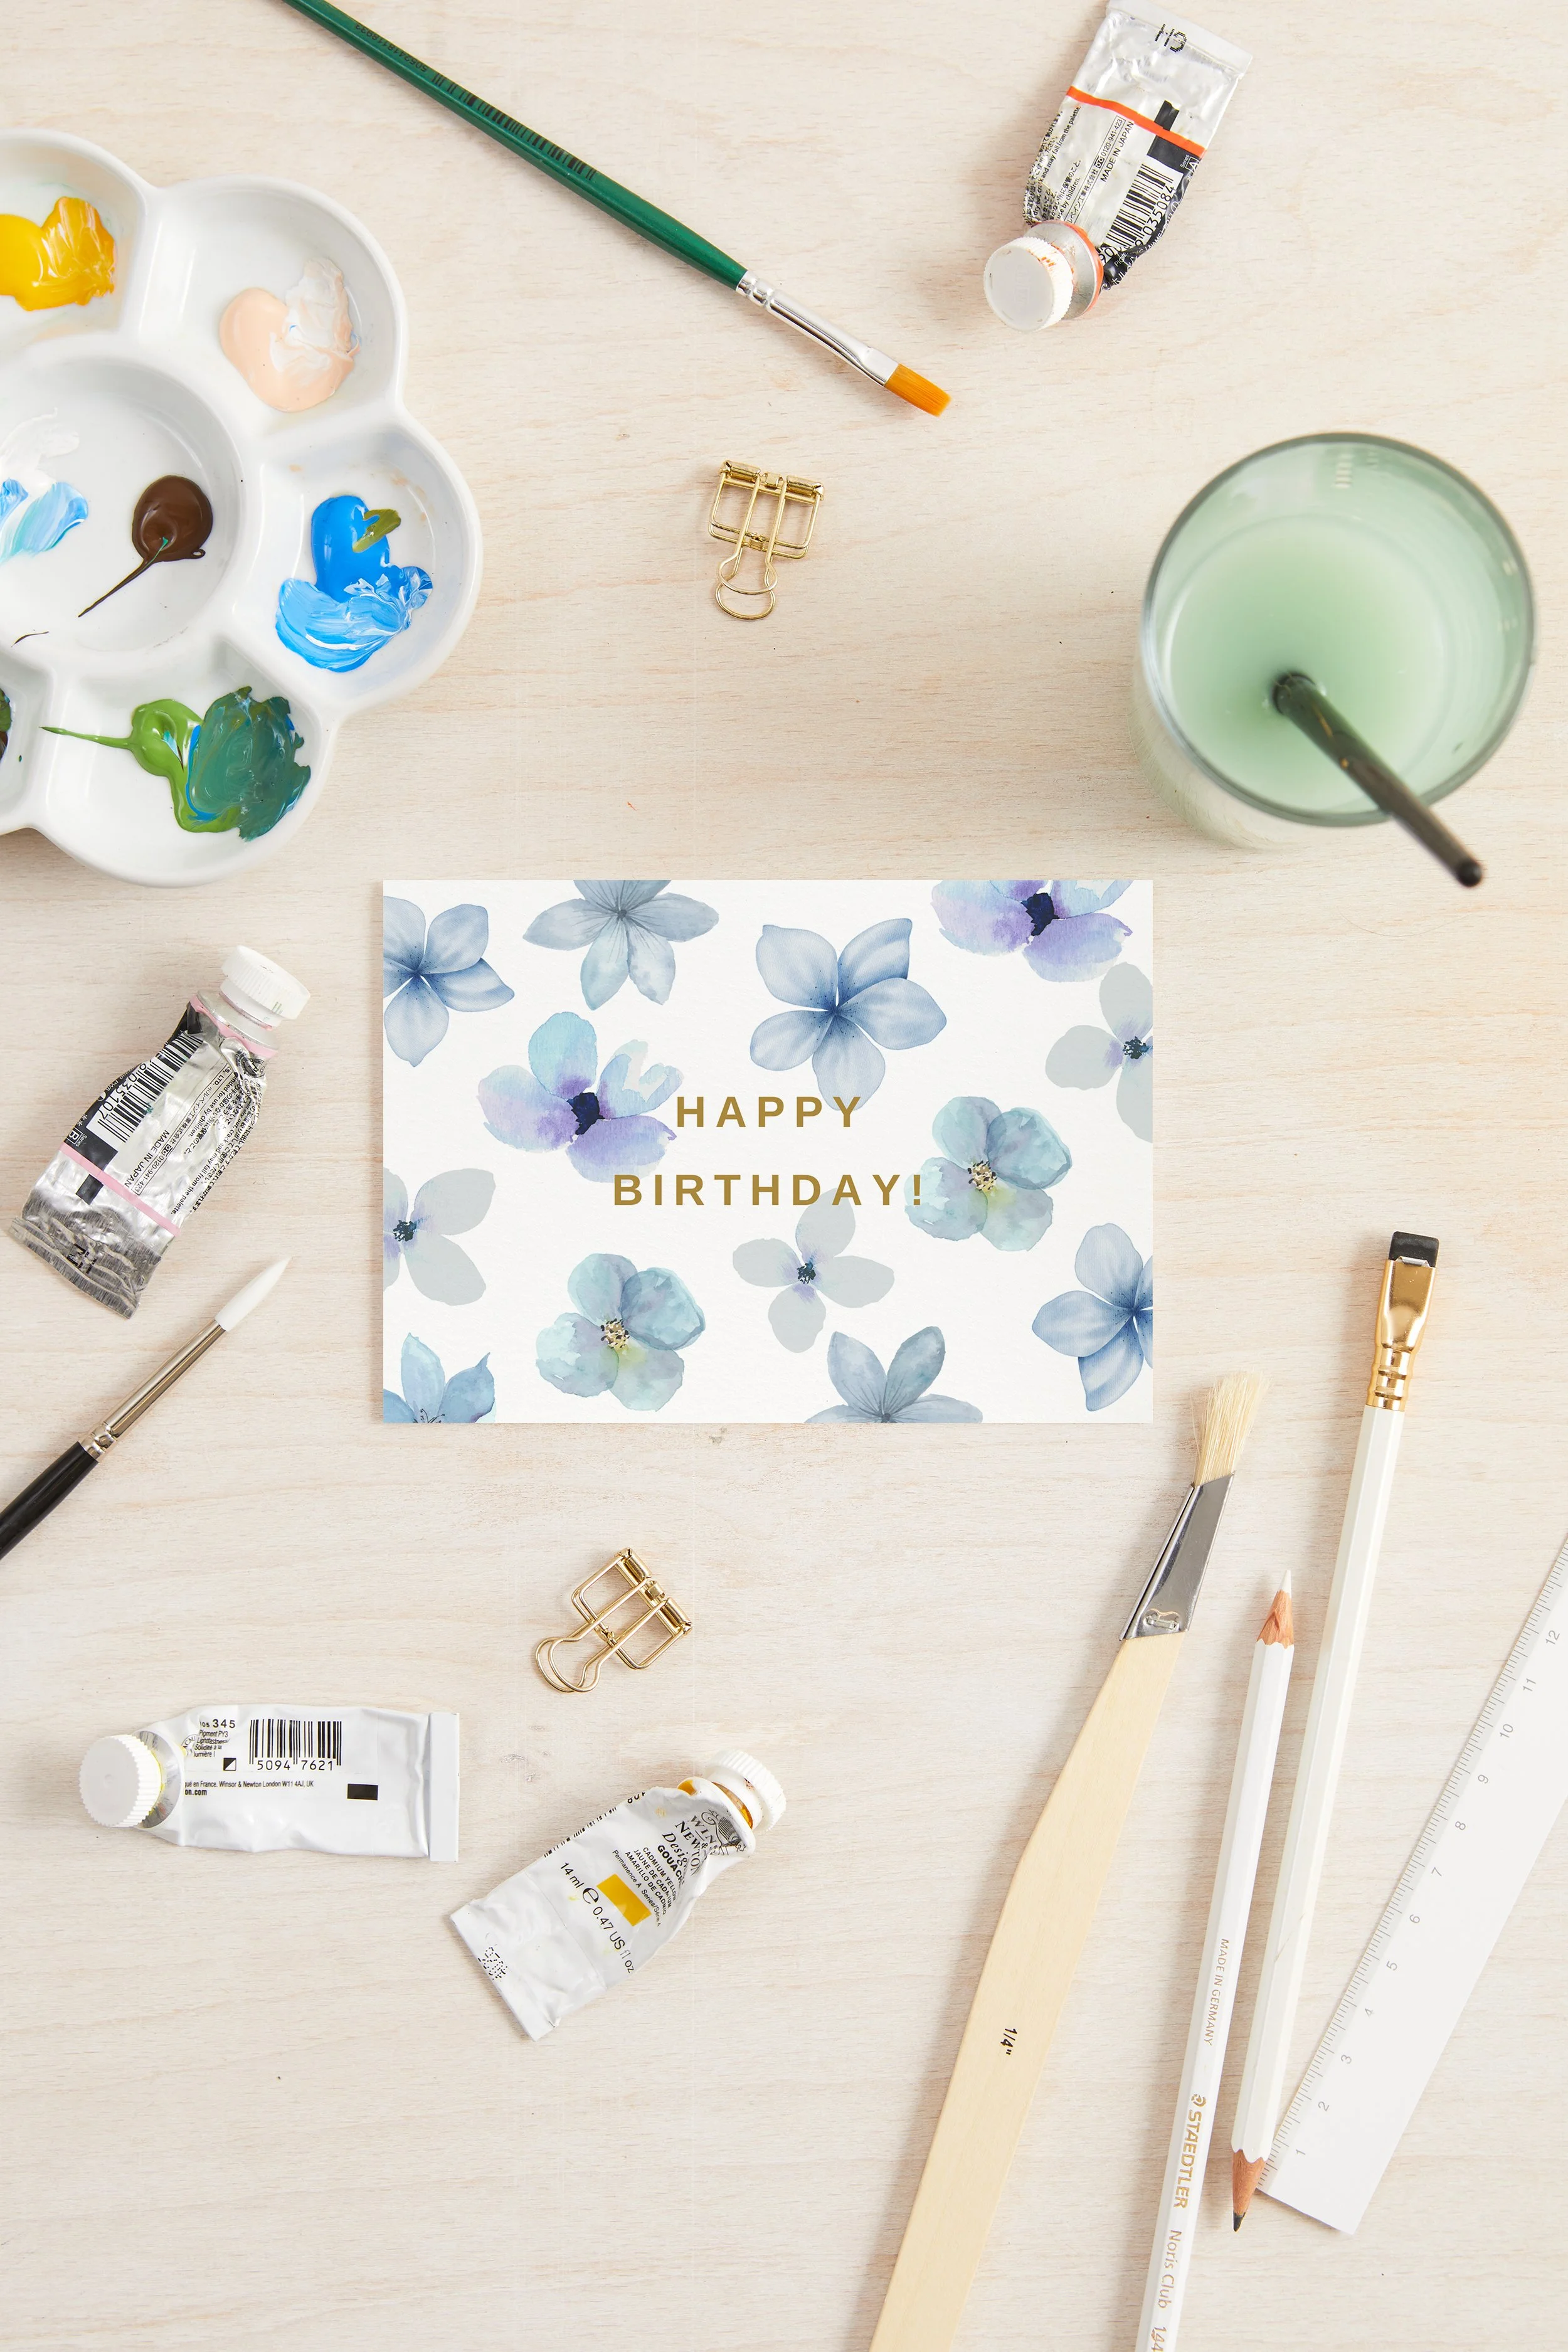
Build your flatlay in layers
The best flatlays are built up in stages, not thrown together all at once. Here's a process that works:
Add your background surface. Use a plain, light coloured background, or something with a soft texture like a floor tile or white washed wood. You can still use colour, but perhaps something not too garish. When selling online, it’s best to keep it subtle so your product is the star of the show.
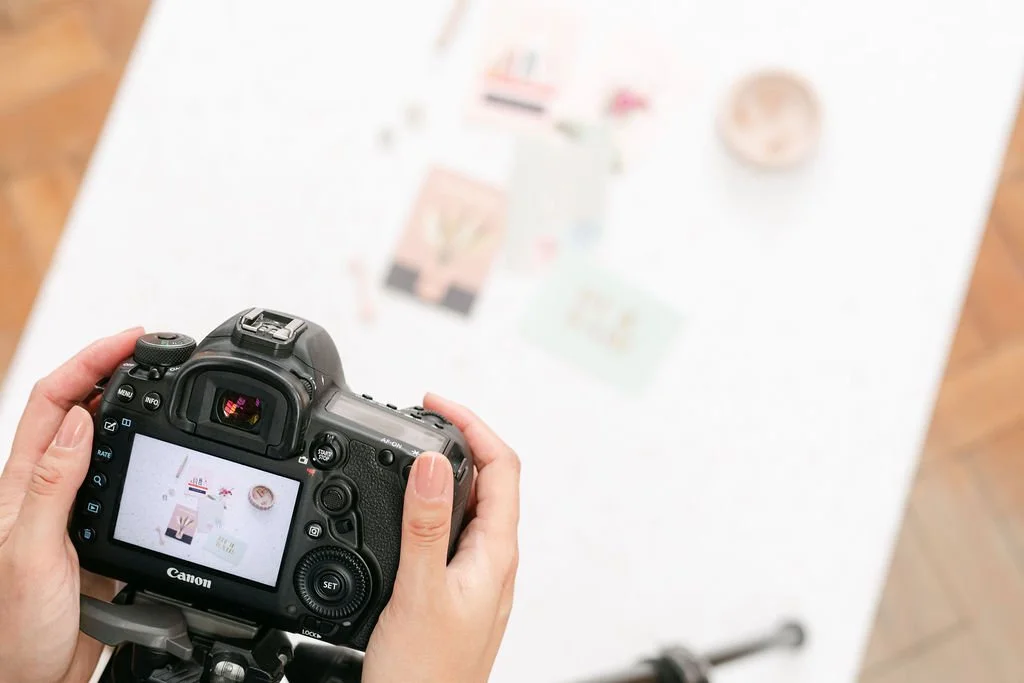
Centre your product. Place your product in the middle of the frame, you want the eye to be drawn to the centre. You can use your grid lines on the camera screen to help you find the middle.
Layer in your supporting props. These should complement and contextualise your product — not compete with it. Think: ingredients if you're a food brand, tools of the trade if you're a stationery brand, lifestyle objects that reflect your customer's world.
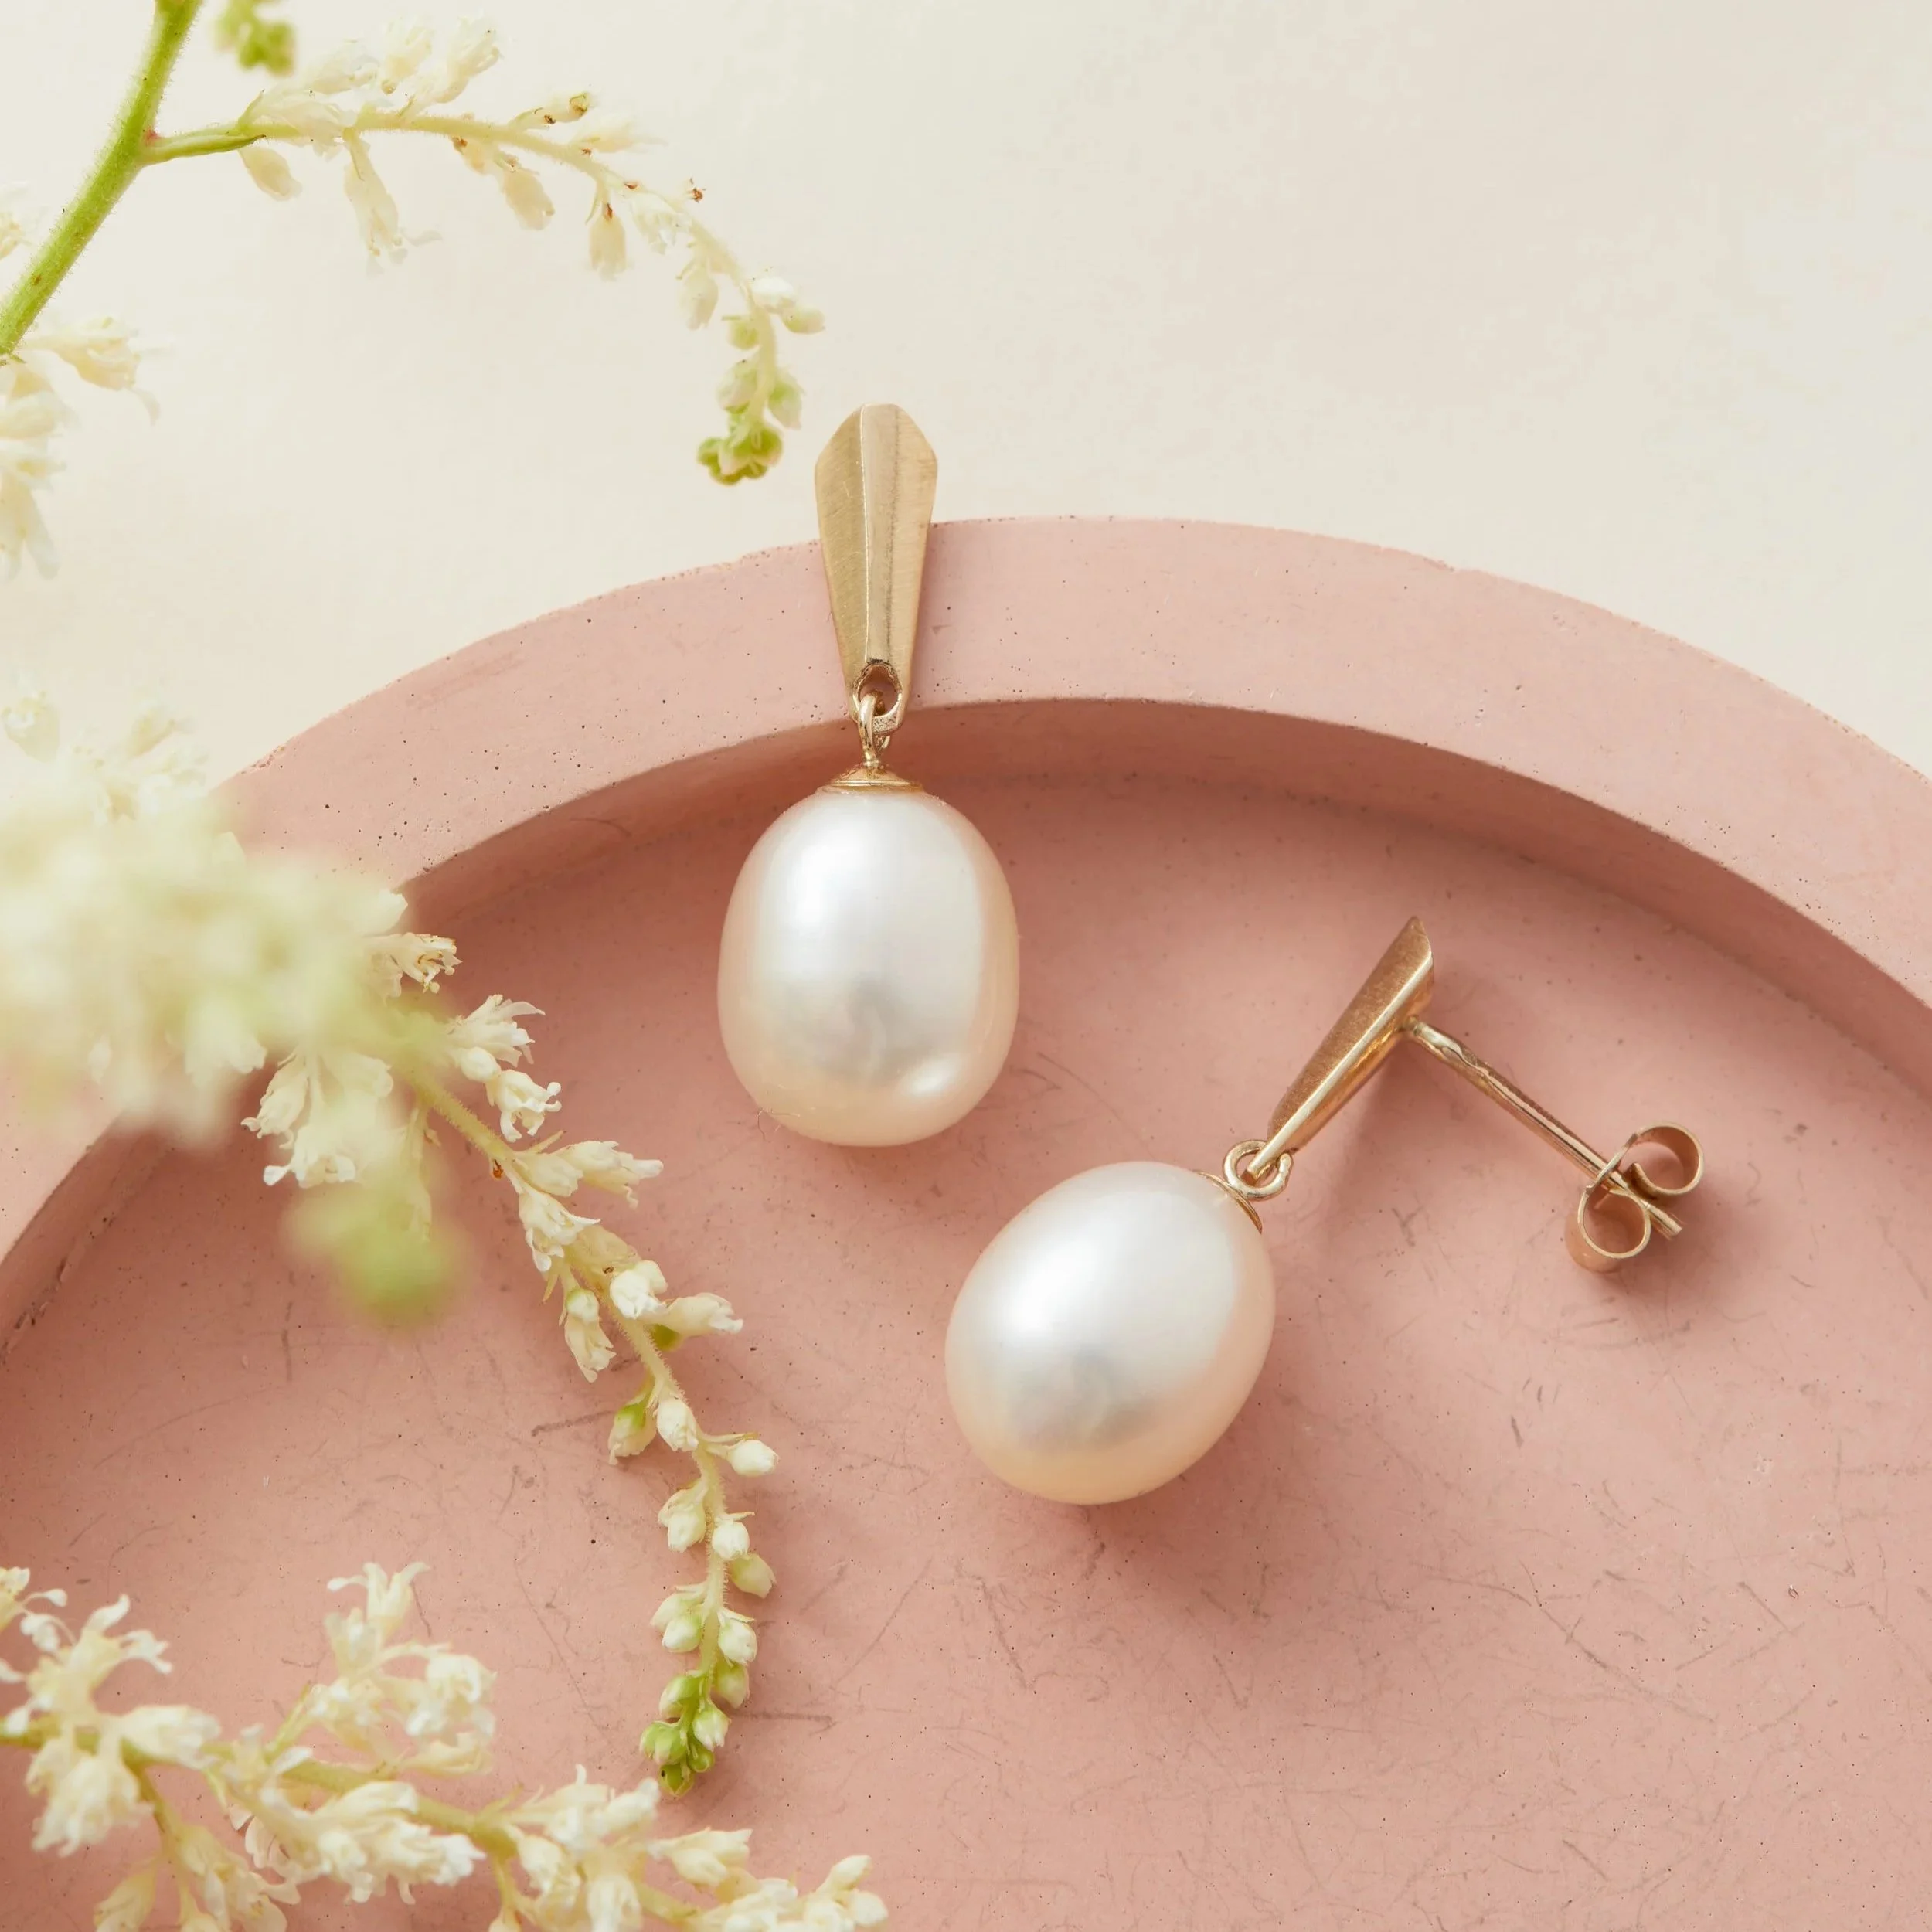
Optional: Add texture and organic elements. Dried flowers, foliage, ribbon — these soften a flatlay and add a homely, lifestyle feel. Use them sparingly.

Editing your flatlays
Once you're happy with your shots, a little editing is key - especially if you're building a bank of images for your shop or social media. Snapseed on mobile is free and great for this: add a little brightness & contrast to make your images pop. Adjust the white balance if your image is looking too cool or too warm to make sure your product is the correct colour.
Keep an eye on the whites — they should be bright and clean without losing detail. Finally, use the perspective correction tools to straighten any wonky angles (this happens more than you'd think when you're shooting straight down).
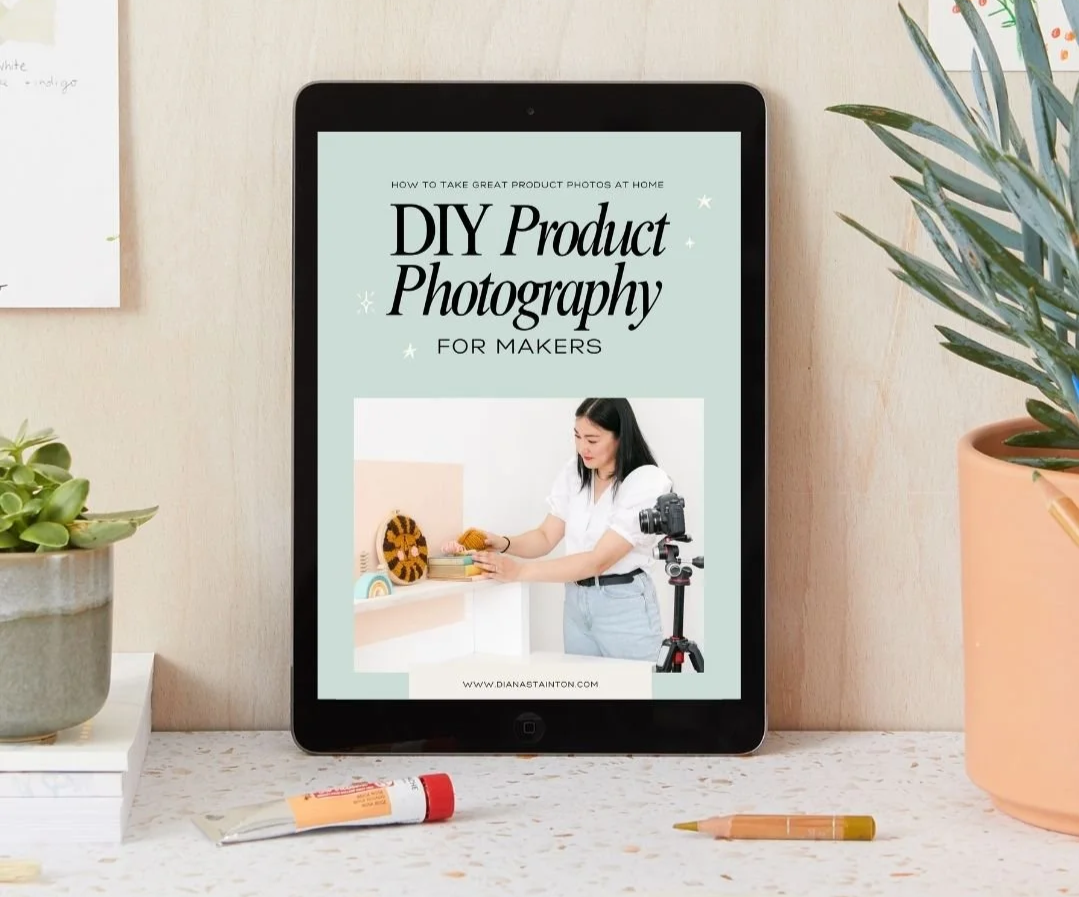
Want a complete guide to shooting your own product photos at home?
My e-book DIY Product Photographyfor Makers walks you through everything — lighting, camera settings, styling, editing, and more — in plain language designed for makers and small business owners. Find it here.
Tutorials:
I share photography tips, tricks & demonstrations on my Photography Instagram Page, follow to see!: https://www.instagram.com/dianastainton/