
Product Photography Guide for Your Folksy Shop
How to take beautiful photos that help your handmade work sell — whether you're shooting on your phone or camera
If you sell on Folksy — or you're thinking about opening a shop — you already know that what you make is special. Folksy is the home of British craft, a place where every purchase supports a genuine UK craftsperson. (ref source: Folksy). Your buyers aren't looking for mass-produced goods. They want something real, something made with care. And your photos need to show them exactly that.
Here's the thing: great product photography doesn't require a professional studio or expensive equipment. With the right knowledge, a decent light source, and a little practice, you can take photos at home that make your Folksy listings shine. This guide will walk you through everything you need to know, from setup to camera settings — for both phone and camera shooters.

Why Photography Matters So Much on Folksy
Before we get into the how, let's talk about the why.
Around 200,000 visitors come to Folksy every month, and Folksy pins receive 10 million views a month on Pinterest. (ref source: Folksy ). That's a lot of eyes on your listings — but they'll only stop scrolling if your photos catch their attention. On a marketplace, your thumbnail image is doing the work of a shop window. It needs to communicate quality, warmth, and value in a fraction of a second.
Folksy themselves recommend reviewing your product photography by comparing it to the Folksy Favourites section (ref source:Folksy) — and it's advice worth taking. The listings that stand out consistently have one thing in common: bright, clear, well-lit photos that make the product the hero.
Step 1: Get Your Lighting Right
Lighting is the single biggest factor in product photography — far more important than which camera you use.
Natural light is your best friend if you’re on a budget. Find a large window in your home that gets plenty of light but isn't in direct sun (in the UK, a north-facing window is ideal for this). Soft, indirect light wraps gently around your product, showing true colours and texture without harsh shadows.
A few tips:
Avoid direct sunlight — it creates blown-out highlights and sharp shadows which can be difficult to manage for beginners. In-direct soft light is more flattering and easier to work with
Use a bounce card — place a piece of white card or foam board on the opposite side of your product to the window. It reflects light back into the shadows and gives a beautifully balanced result. It’s low cost and makes a surprising difference
Struggling with low light? — consider investing in an LED light if you’re shooting regularly & want consistency
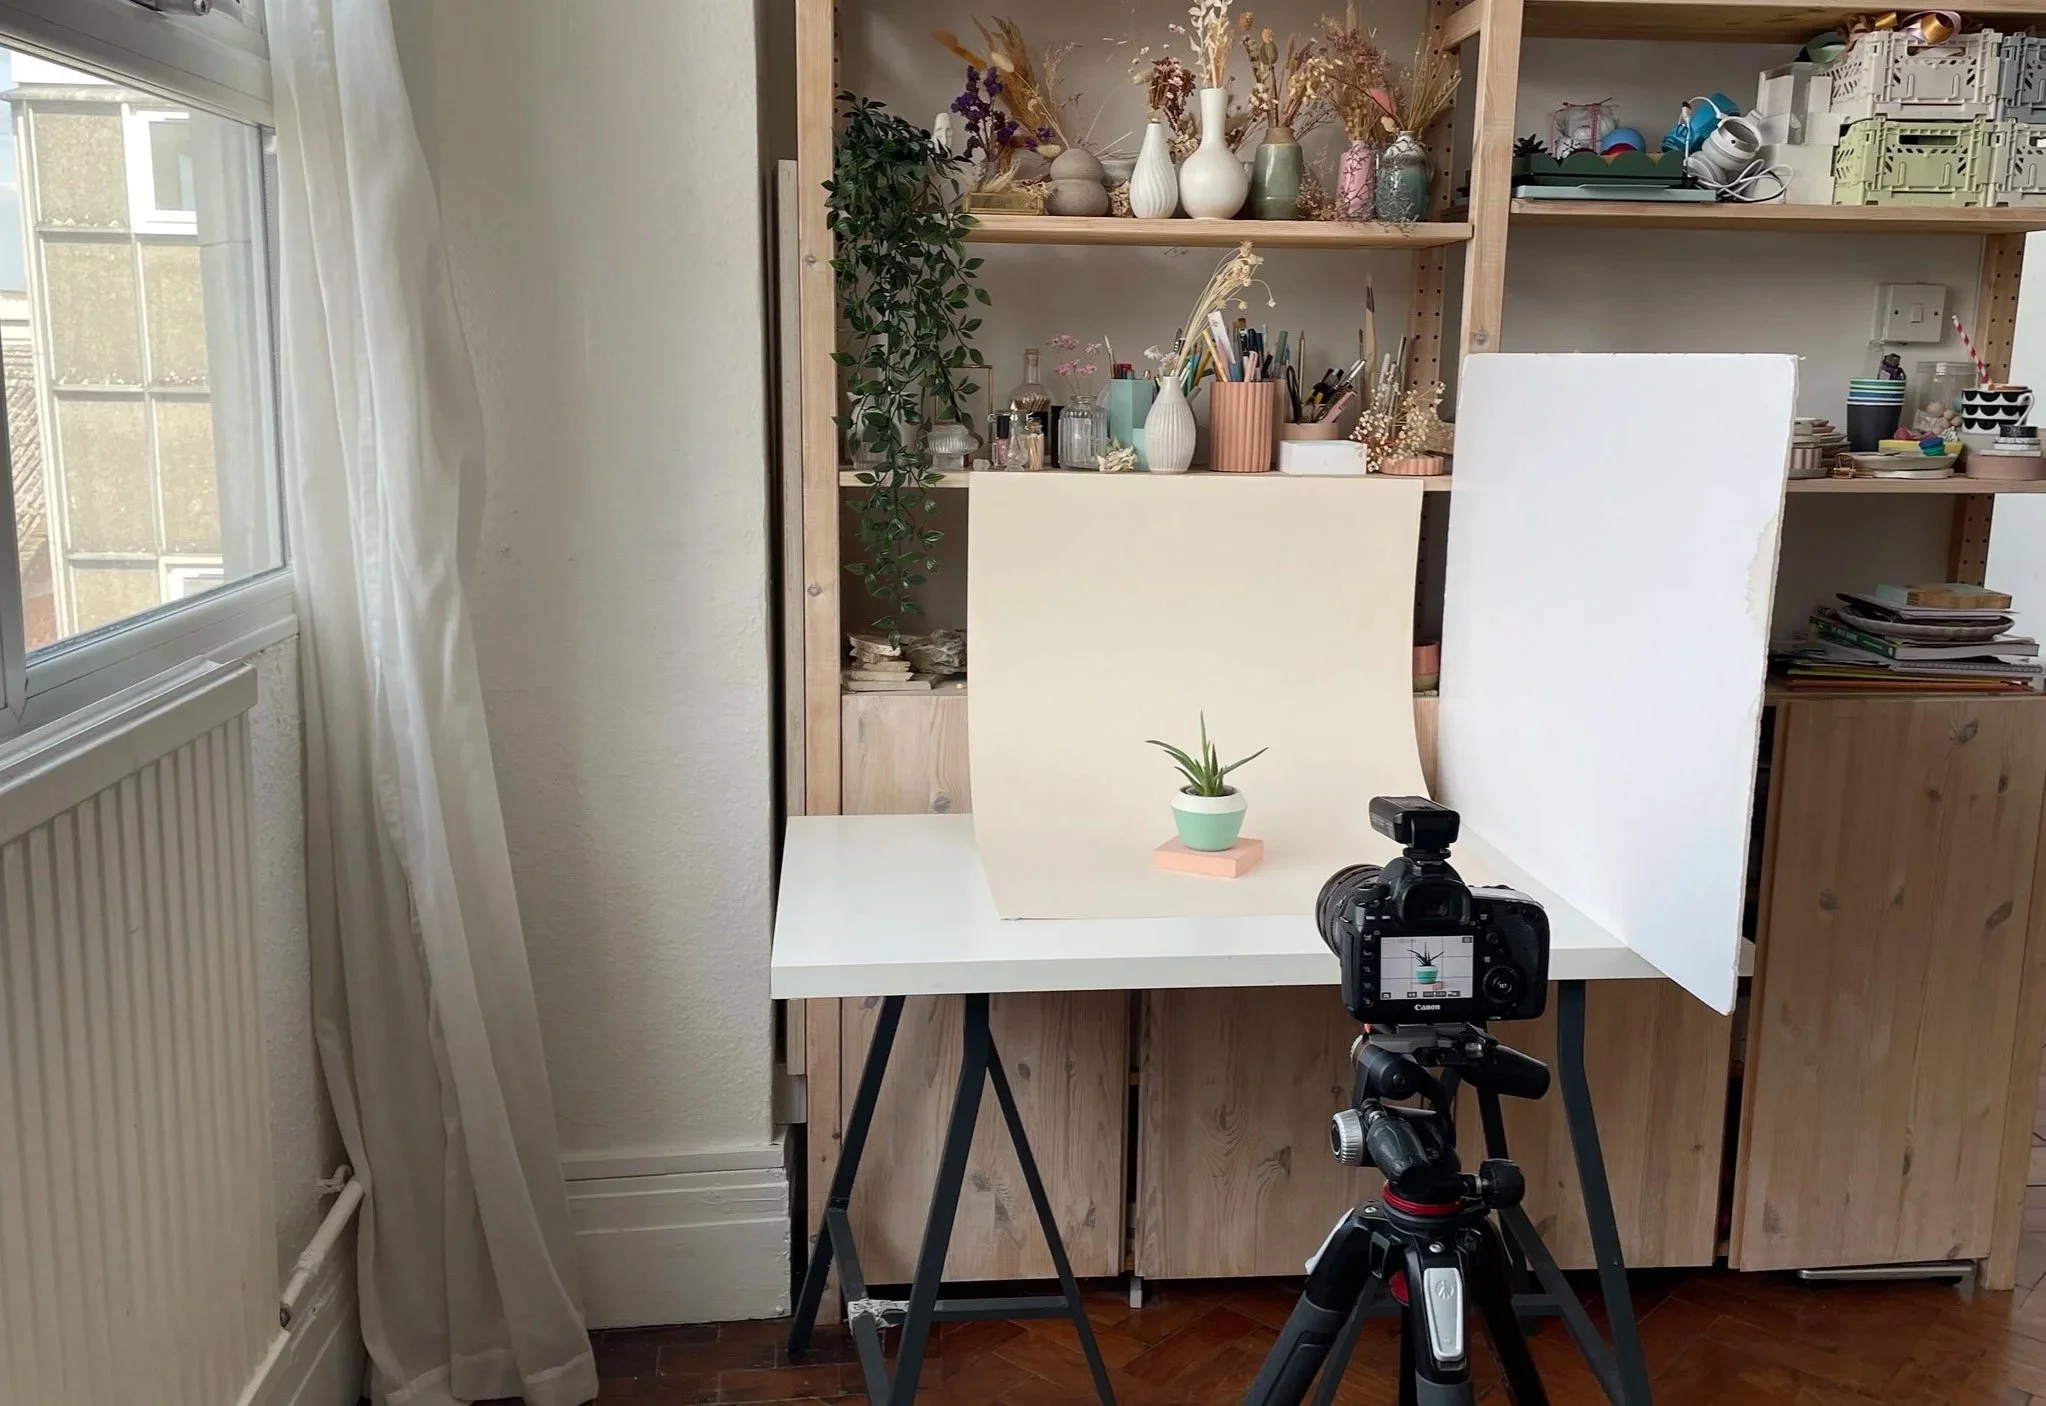
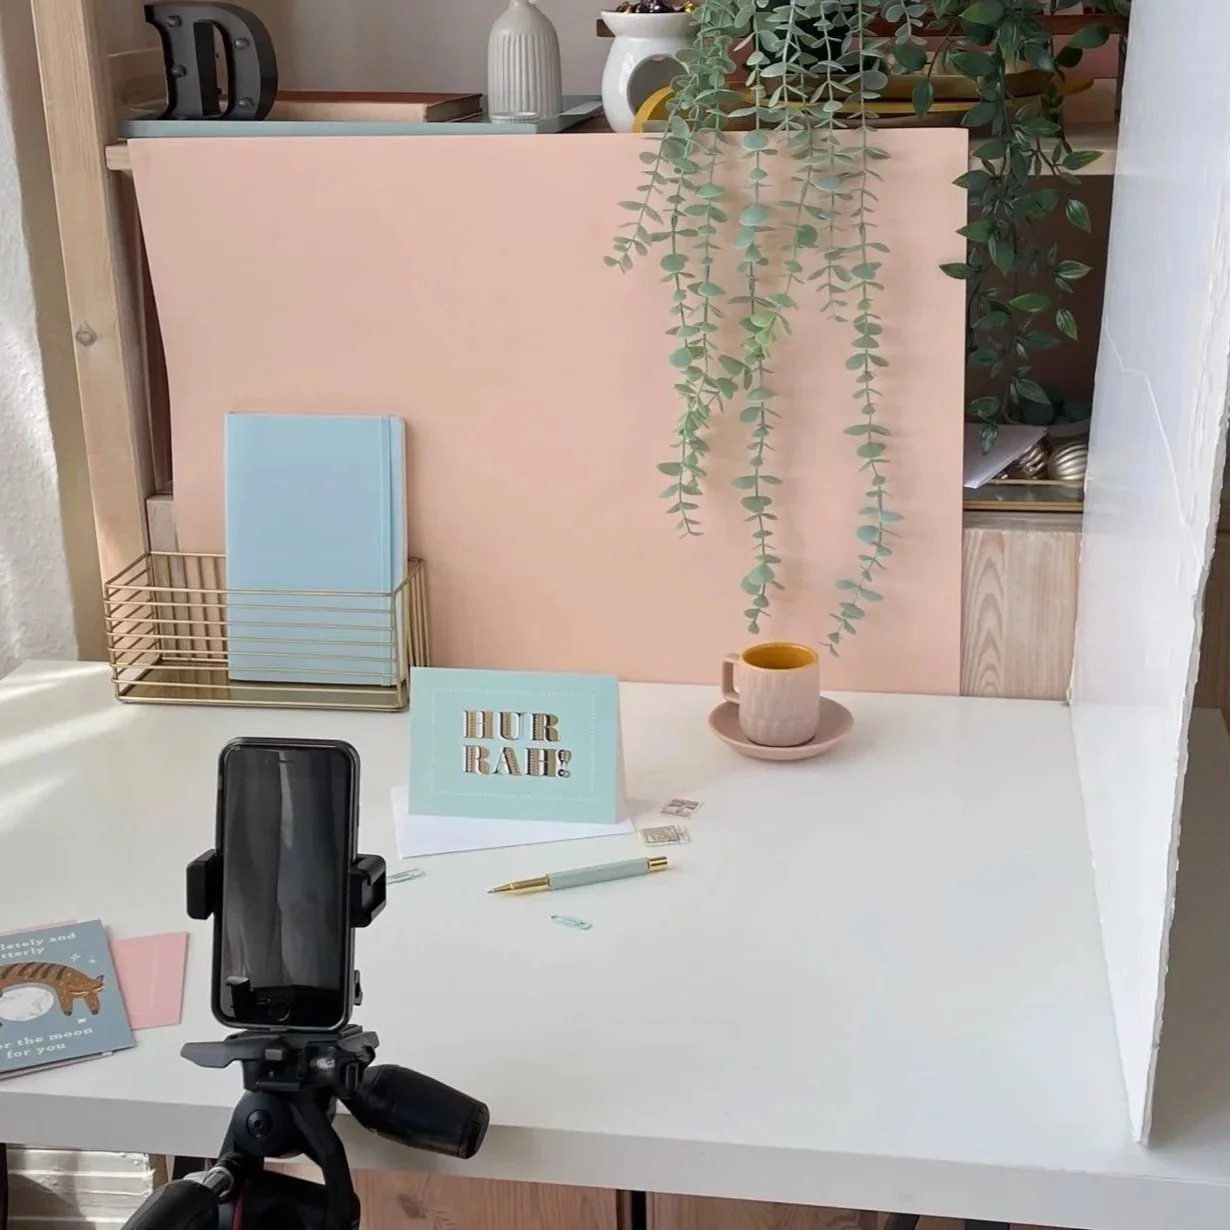
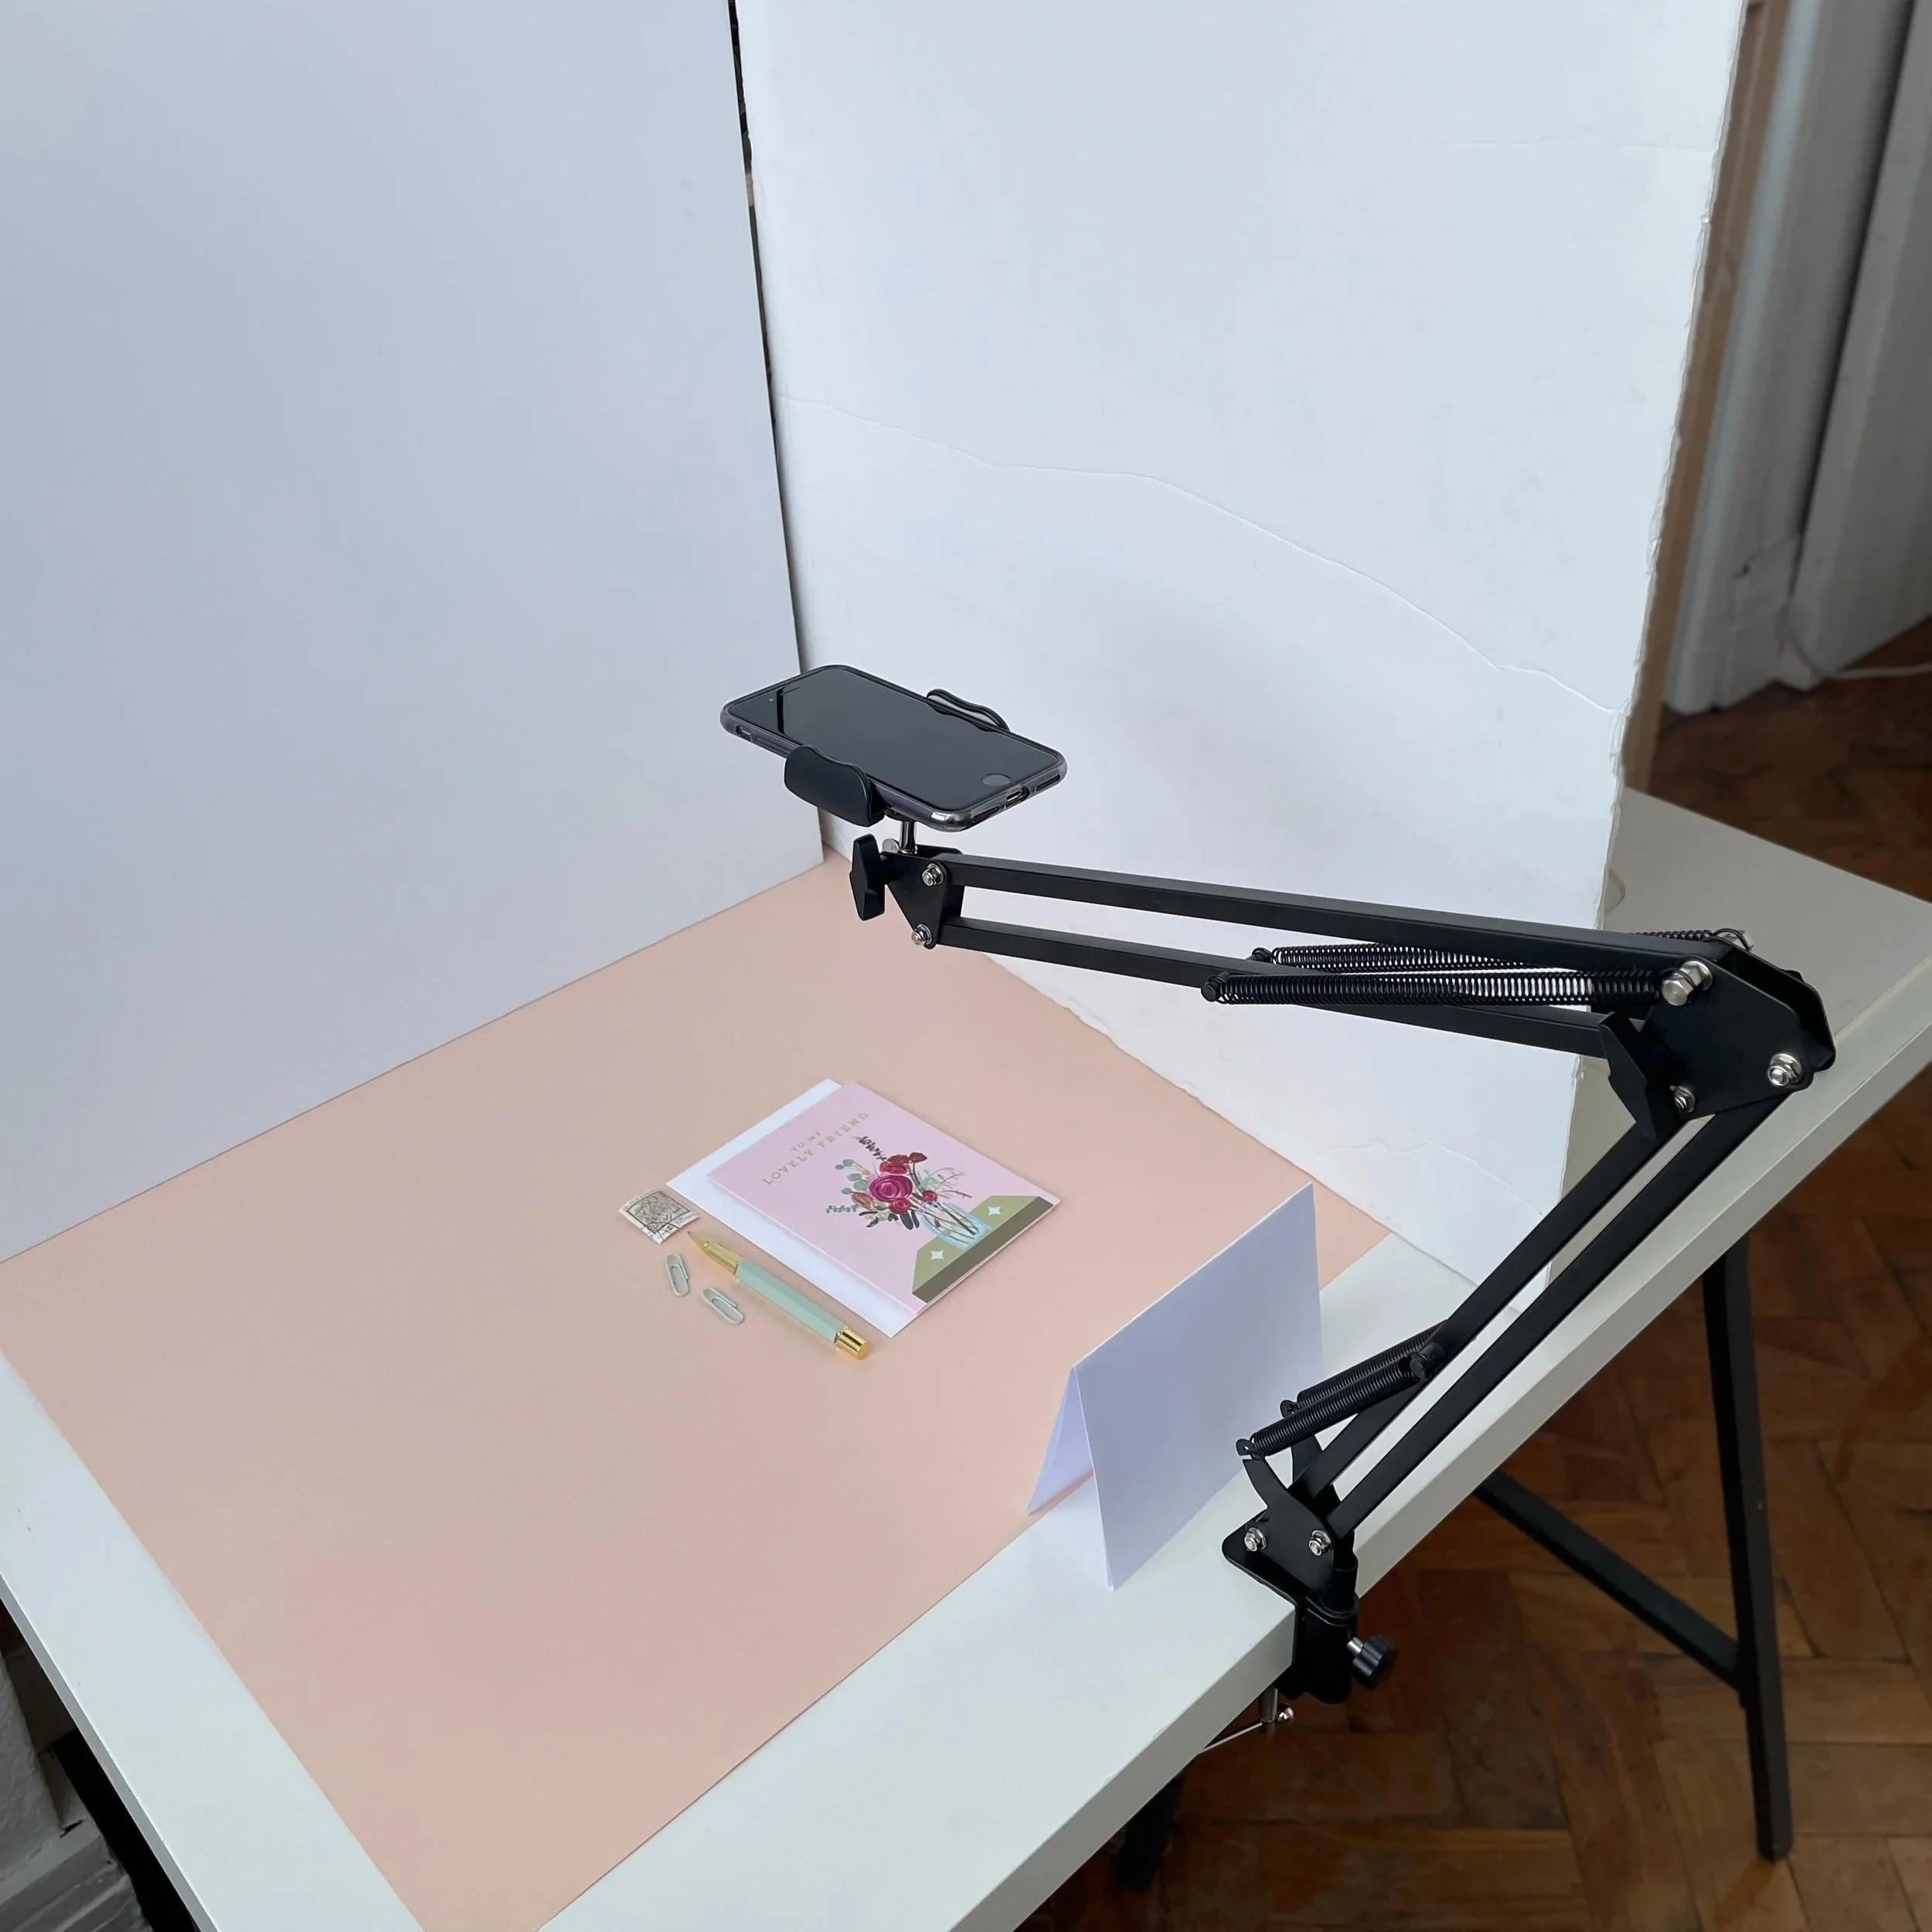
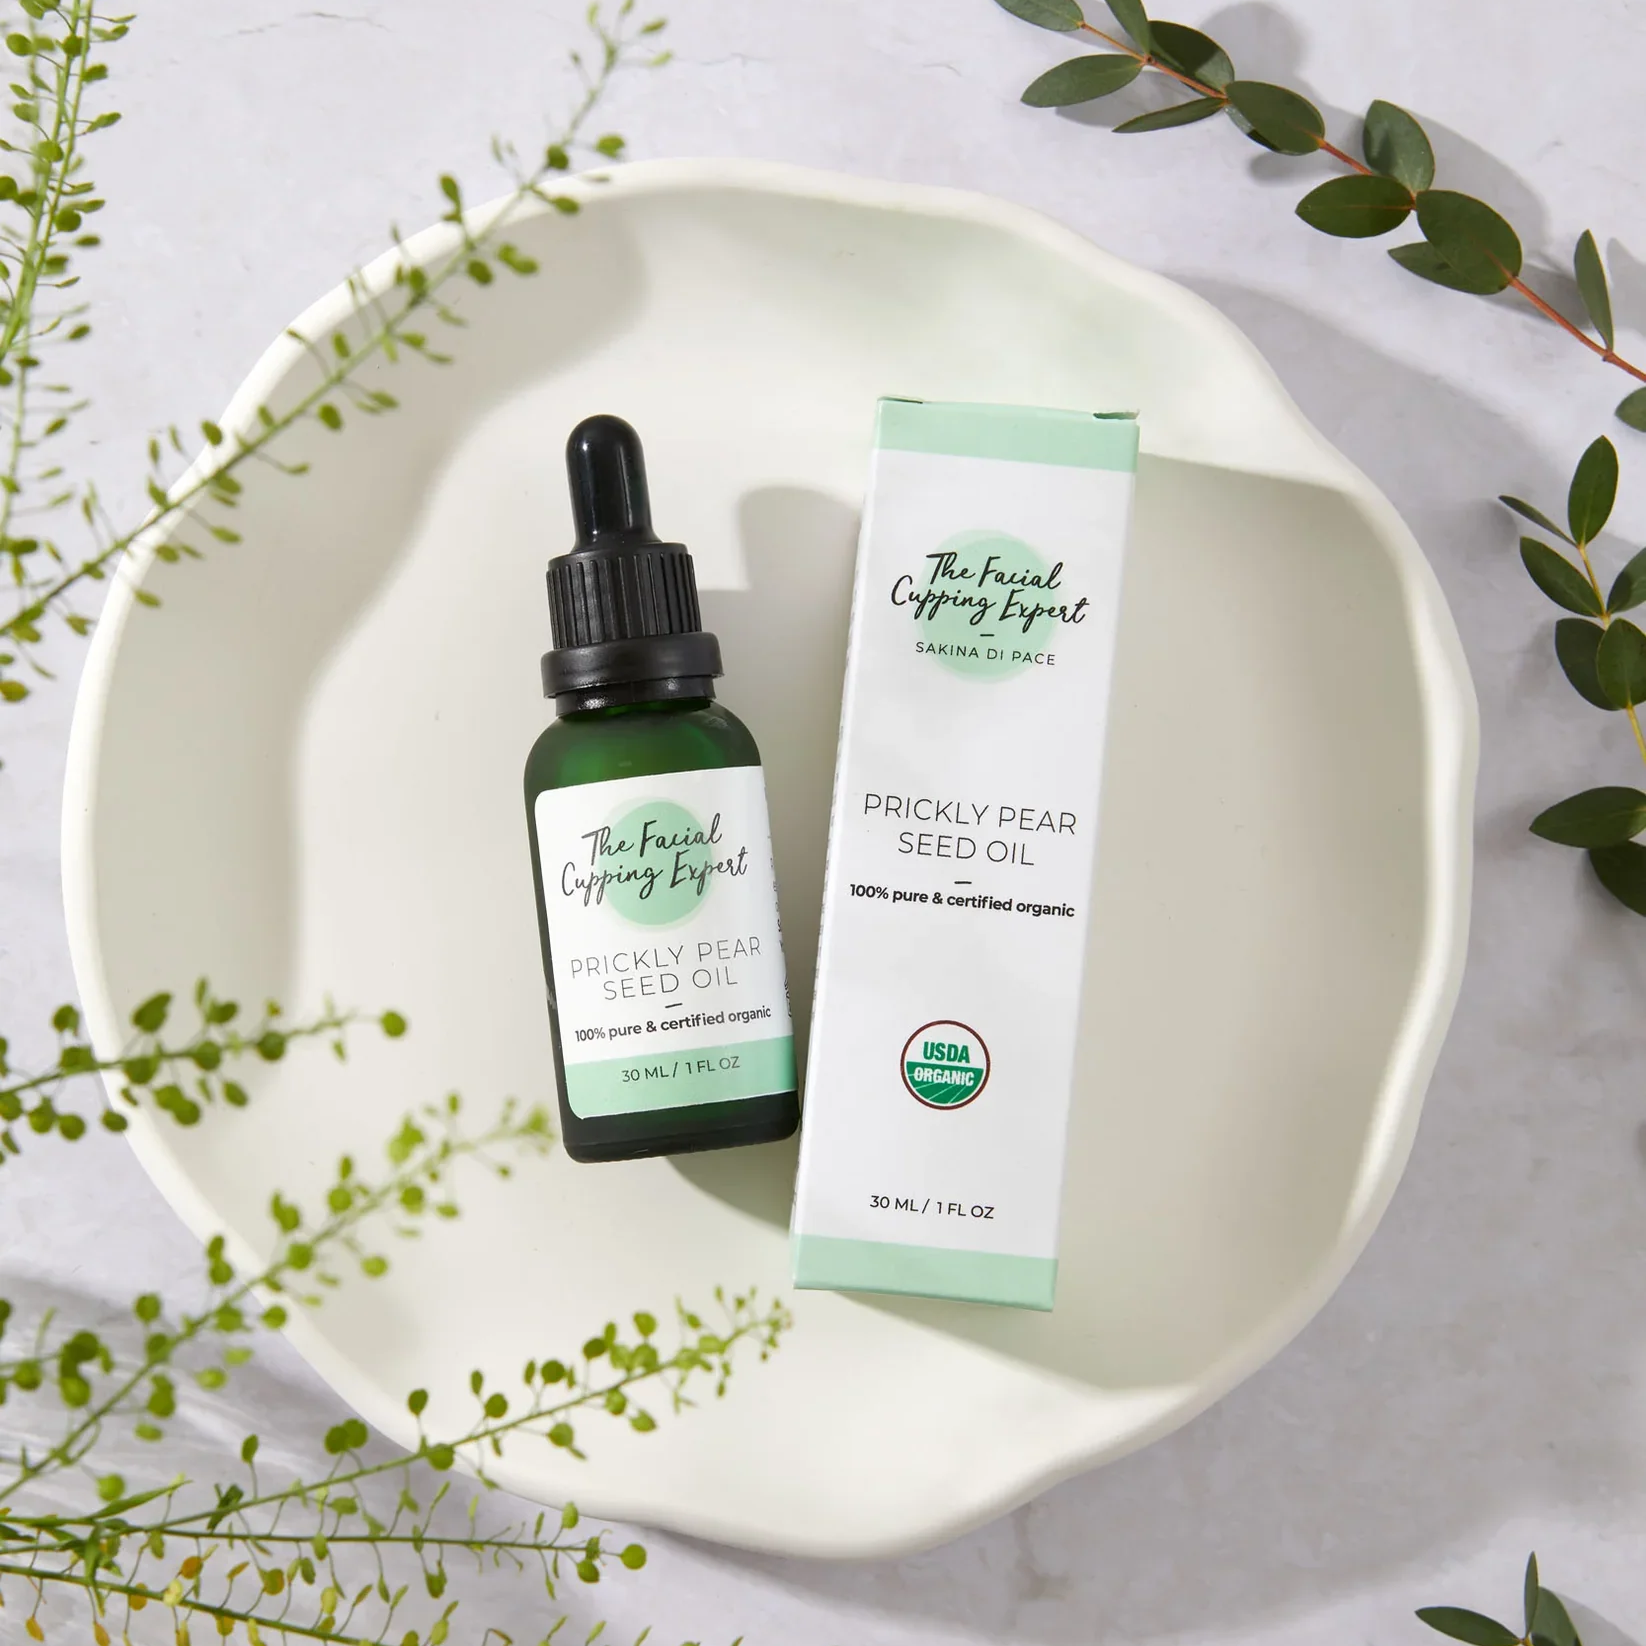
Here’s an example of a simple but effective product photo setup for your Folksy shop
Step 2: Set Up a Simple Background
A clean, consistent background makes your products look professional and your shop look cohesive. You don't need anything fancy.
Great options for Folksy sellers:
Beige or cream card — clean, classic, lets the product do the talking. It feels neutral without being too cold.
Wooden boards or surfaces — warm and tactile, perfect for handmade goods
Stone tiles — can add some nice texture to add character & interest
Linen or fabric — adds texture and a handmade feel
Vinyl Backgrounds — these come in lots of styles like tile, marble, texture and colours. My faves are from Club Backdrops (referral link), Captured By Lucy and Blueberry Backdrops
Whatever you choose, keep it consistent across your shop so your listings have a recognisable, branded look when buyers browse your page.
Step 3: Shooting on Your Phone
You don't need a DSLR to take great Folksy photos. Modern smartphones are more than capable — but you need to use them properly.
The key settings to know:
Adjust your exposure - learn how to increase exposure (lighten) or decrease exposure (darken) to suit your product.
Use gridlines — turn on the grid in your camera settings to help you keep your shots straight and well-composed
Never use digital zoom — move physically closer instead. Digital zoom reduces image quality
Shoot in the best quality your phone allows — check your camera settings and make sure you're shooting at the highest resolution and ‘most compatible’ which is a jpeg.
A phone stand is a game changer. Even a basic phone tripod (like this for table top scene or this for flatlays - affiliate links of product I own) minimises camera shake. It also keeps the camera in place to free up your hands so you can concentrate on styling, meaning you can shoot a lot of products in a shorter time.
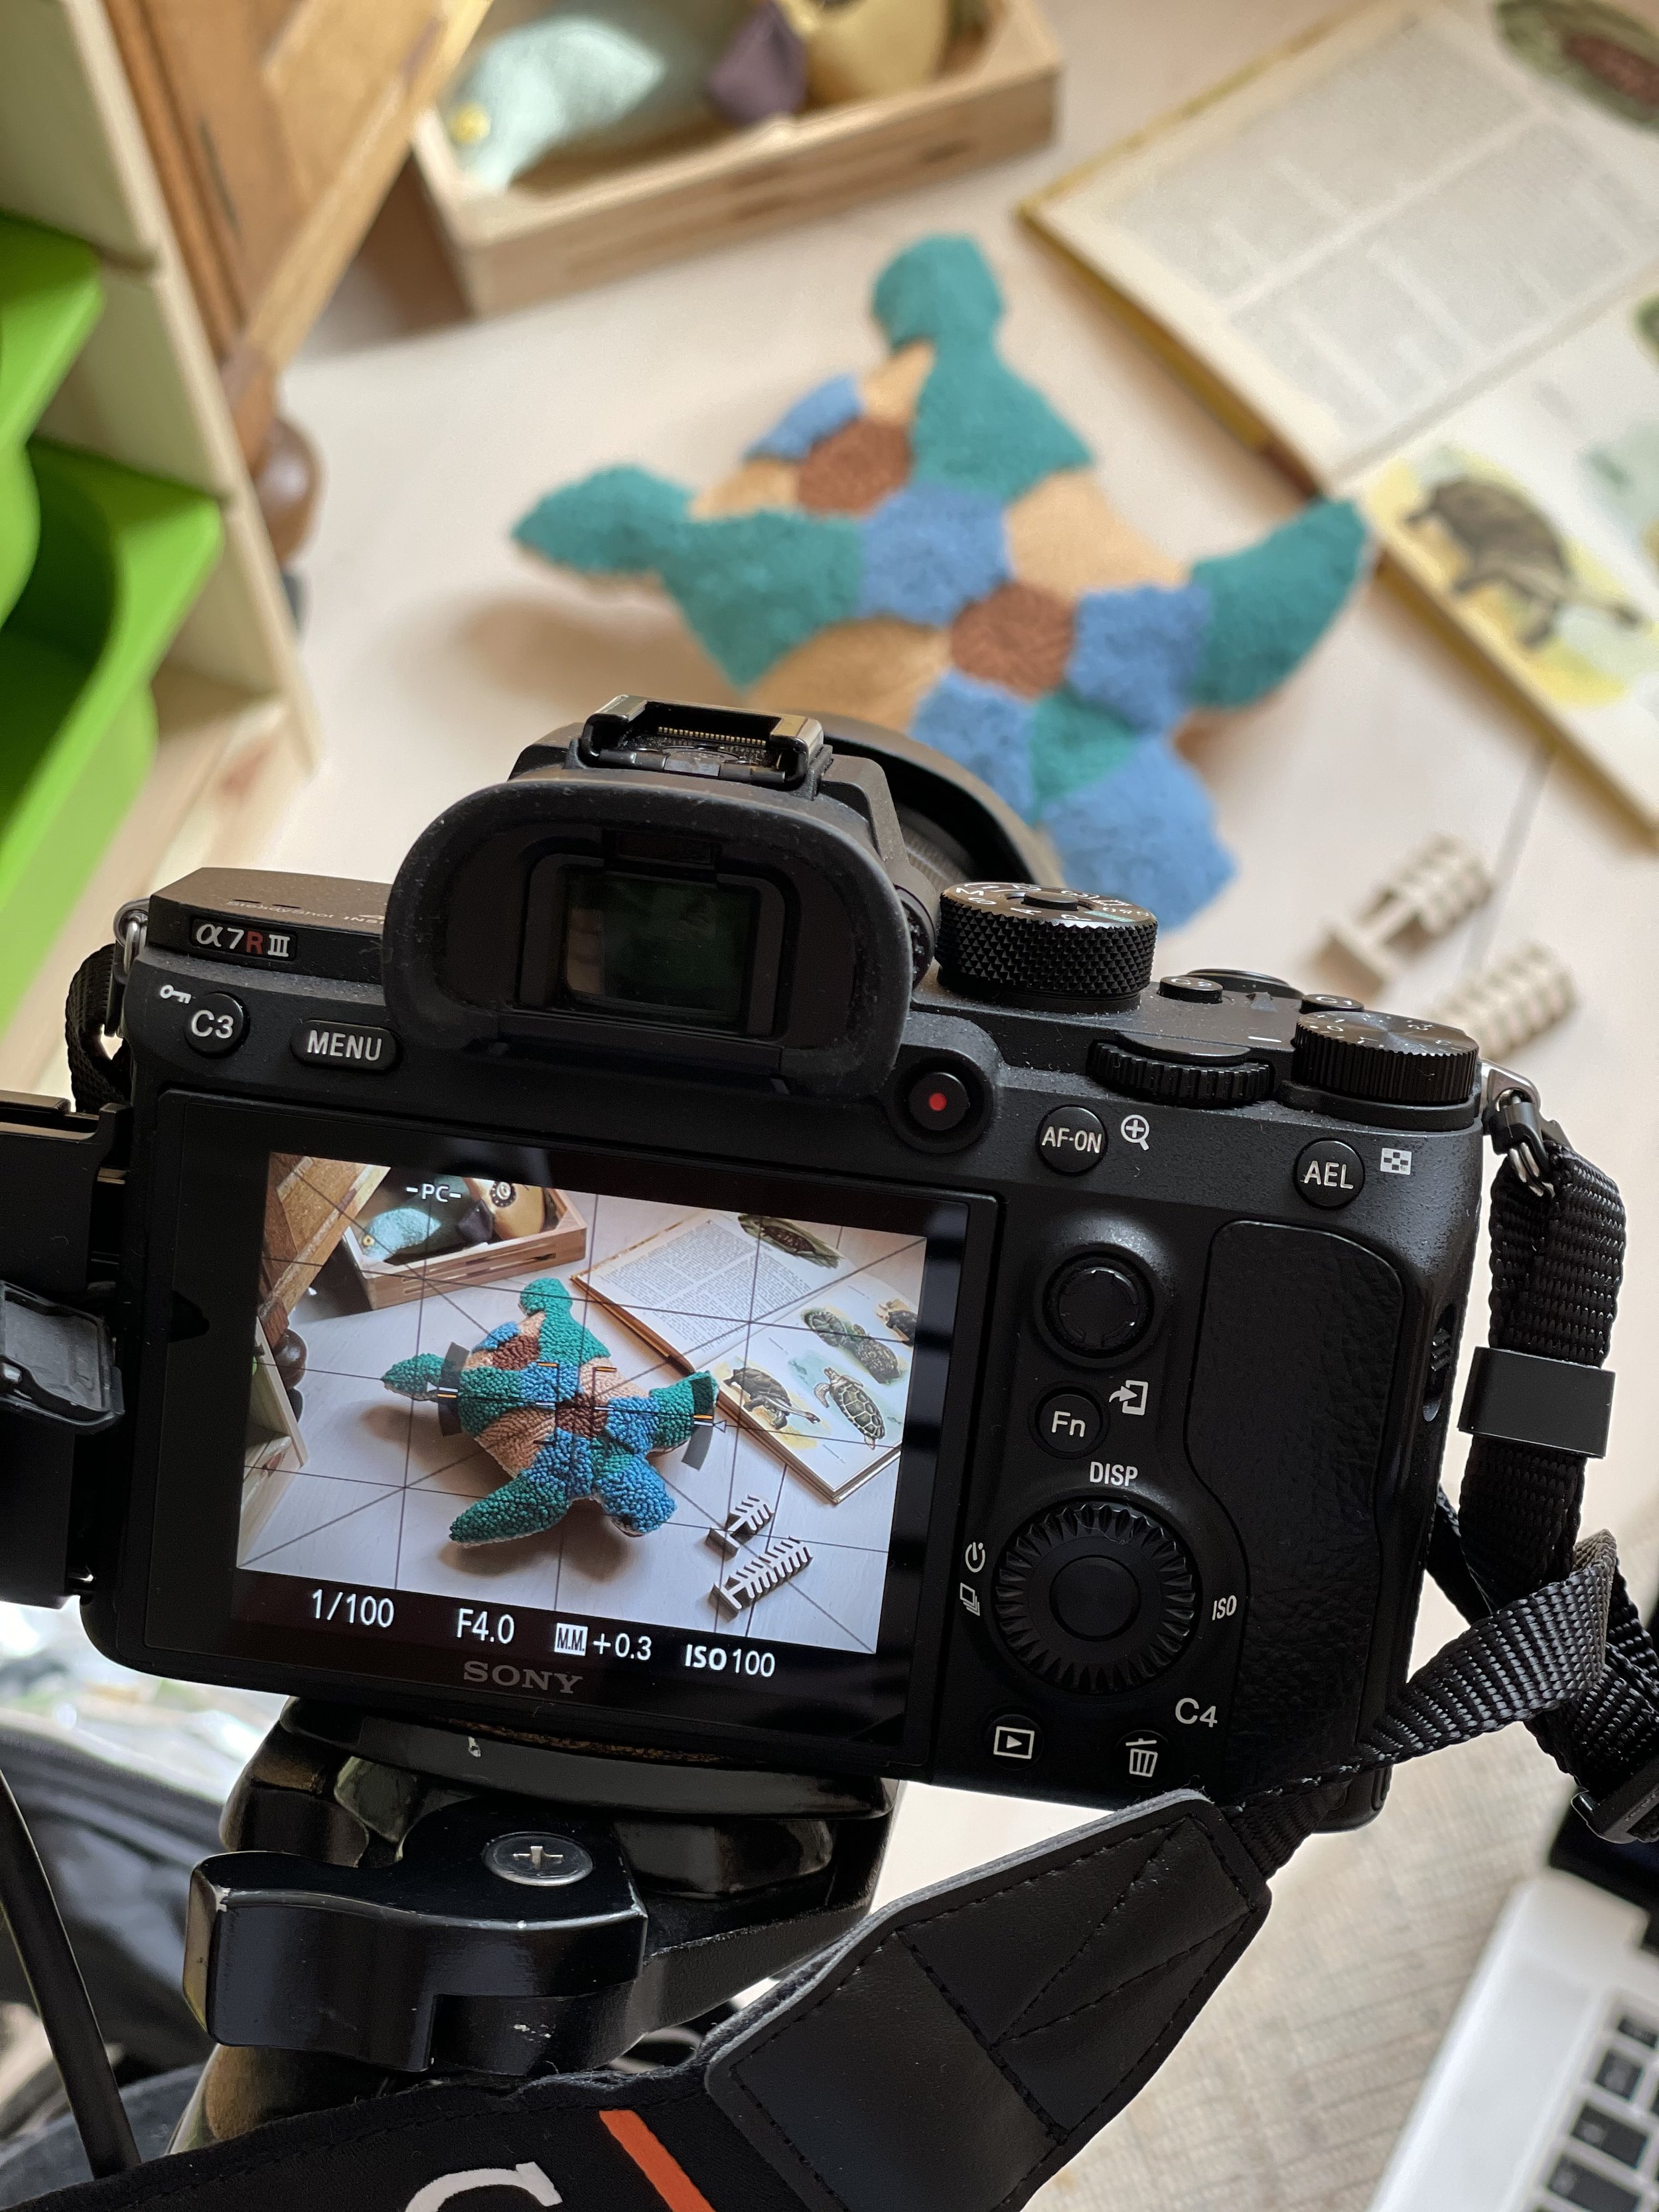
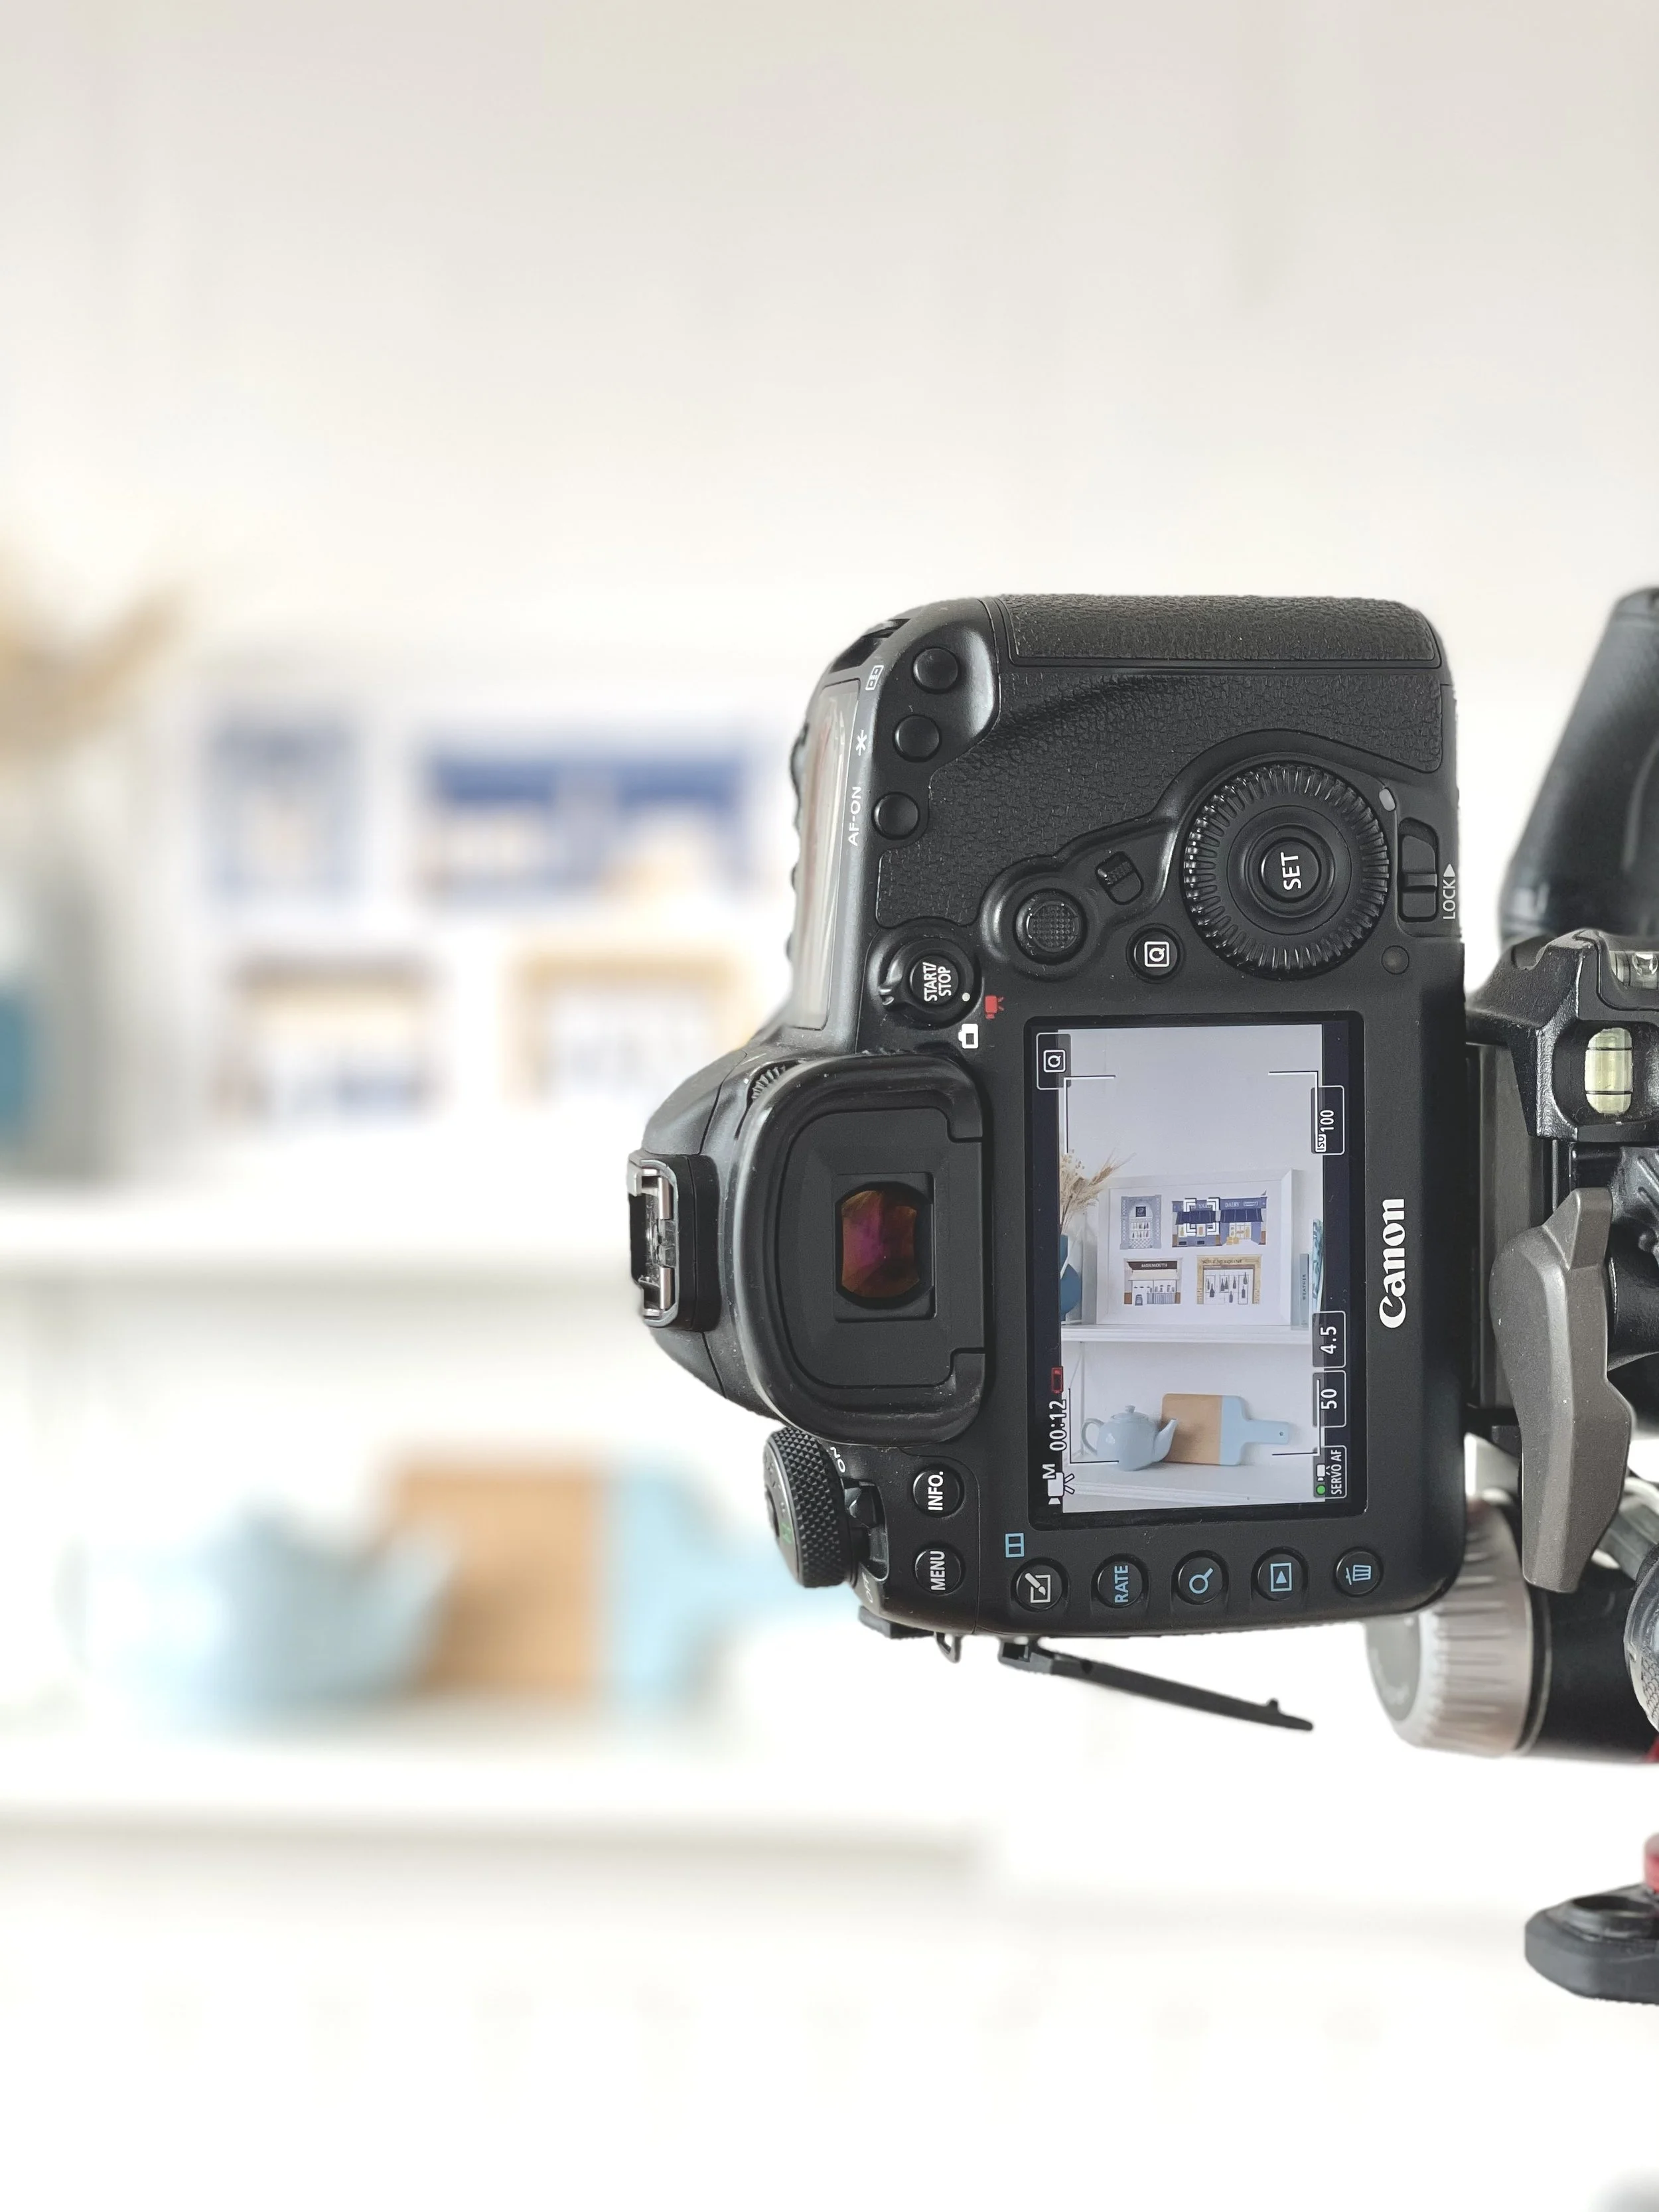
Step 4: Shooting on a DSLR or Mirrorless Camera
If you have a camera, brilliant — but only if you know how to use it. A phone shot in good light will always beat a blurry DSLR shot.
Key things to learn:
What you'll need to learn when shooting with a DSLR:
The exposure triangle — how aperture, shutter speed, and ISO work together to control the brightness and look of your image
Aperture (f-stop) — controls depth of field; a higher f-number (like f/8) keeps more of your product sharp
Shutter speed — how long the sensor is exposed to light; use a tripod if shooting slow to avoid camera shake
ISO — the camera's sensitivity to light; keep it as low as possible to avoid grainy images
White balance — tells the camera what "white" looks like so your colours are accurate; Daylight (sun symbol) or Cloudy (cloud symbol) are good starting points for home shooting
Shooting modes — Aperture Priority (A/Av) lets the camera handle shutter speed while you control depth of field; I recommend starting with this semi automatic camera mode.
File format: JPEG vs RAW — JPEG is ready to use straight away; RAW gives you more flexibility when editing but needs software to open
Use gridlines - the same recommendation as phone photography: turn on the grid in your camera settings to help you keep your shots straight and well-composed
Step 5: Styling Your Shots
On Folksy, your buyers want to feel a connection to what you've made. Styling your photos thoughtfully helps tell the story of your product.
For flat lays (shooting from above):
Start with your hero product, placed in the centre
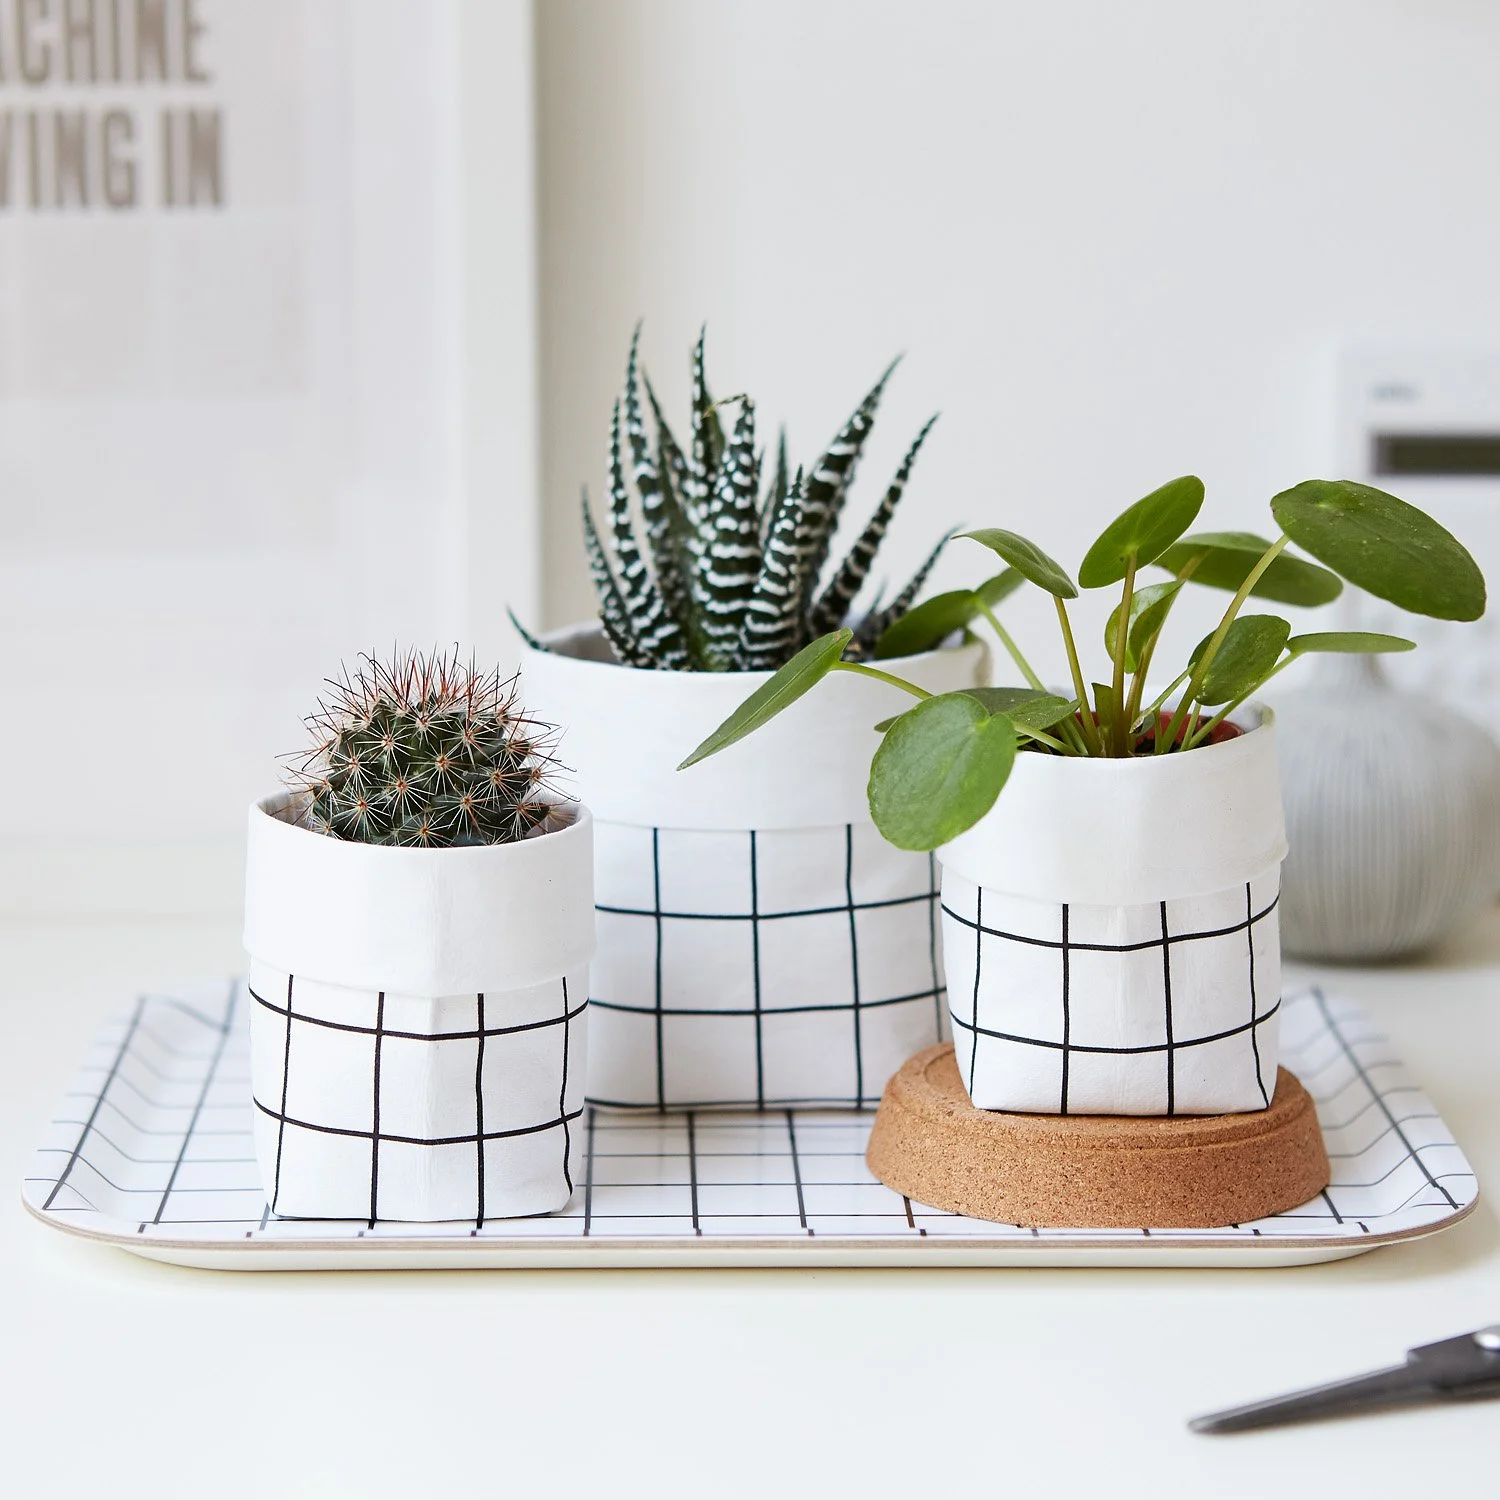
Add props that complement without competing — think natural materials, relevant tools of your trade, or simple lifestyle objects. The props can show the buyer how it might be used, or indicate the style.
Use odd numbers of props (3 or 5 feels more natural than 2 or 4)
Step back and check the balance before you shoot, making sure it doesn't feel to busy or crowded

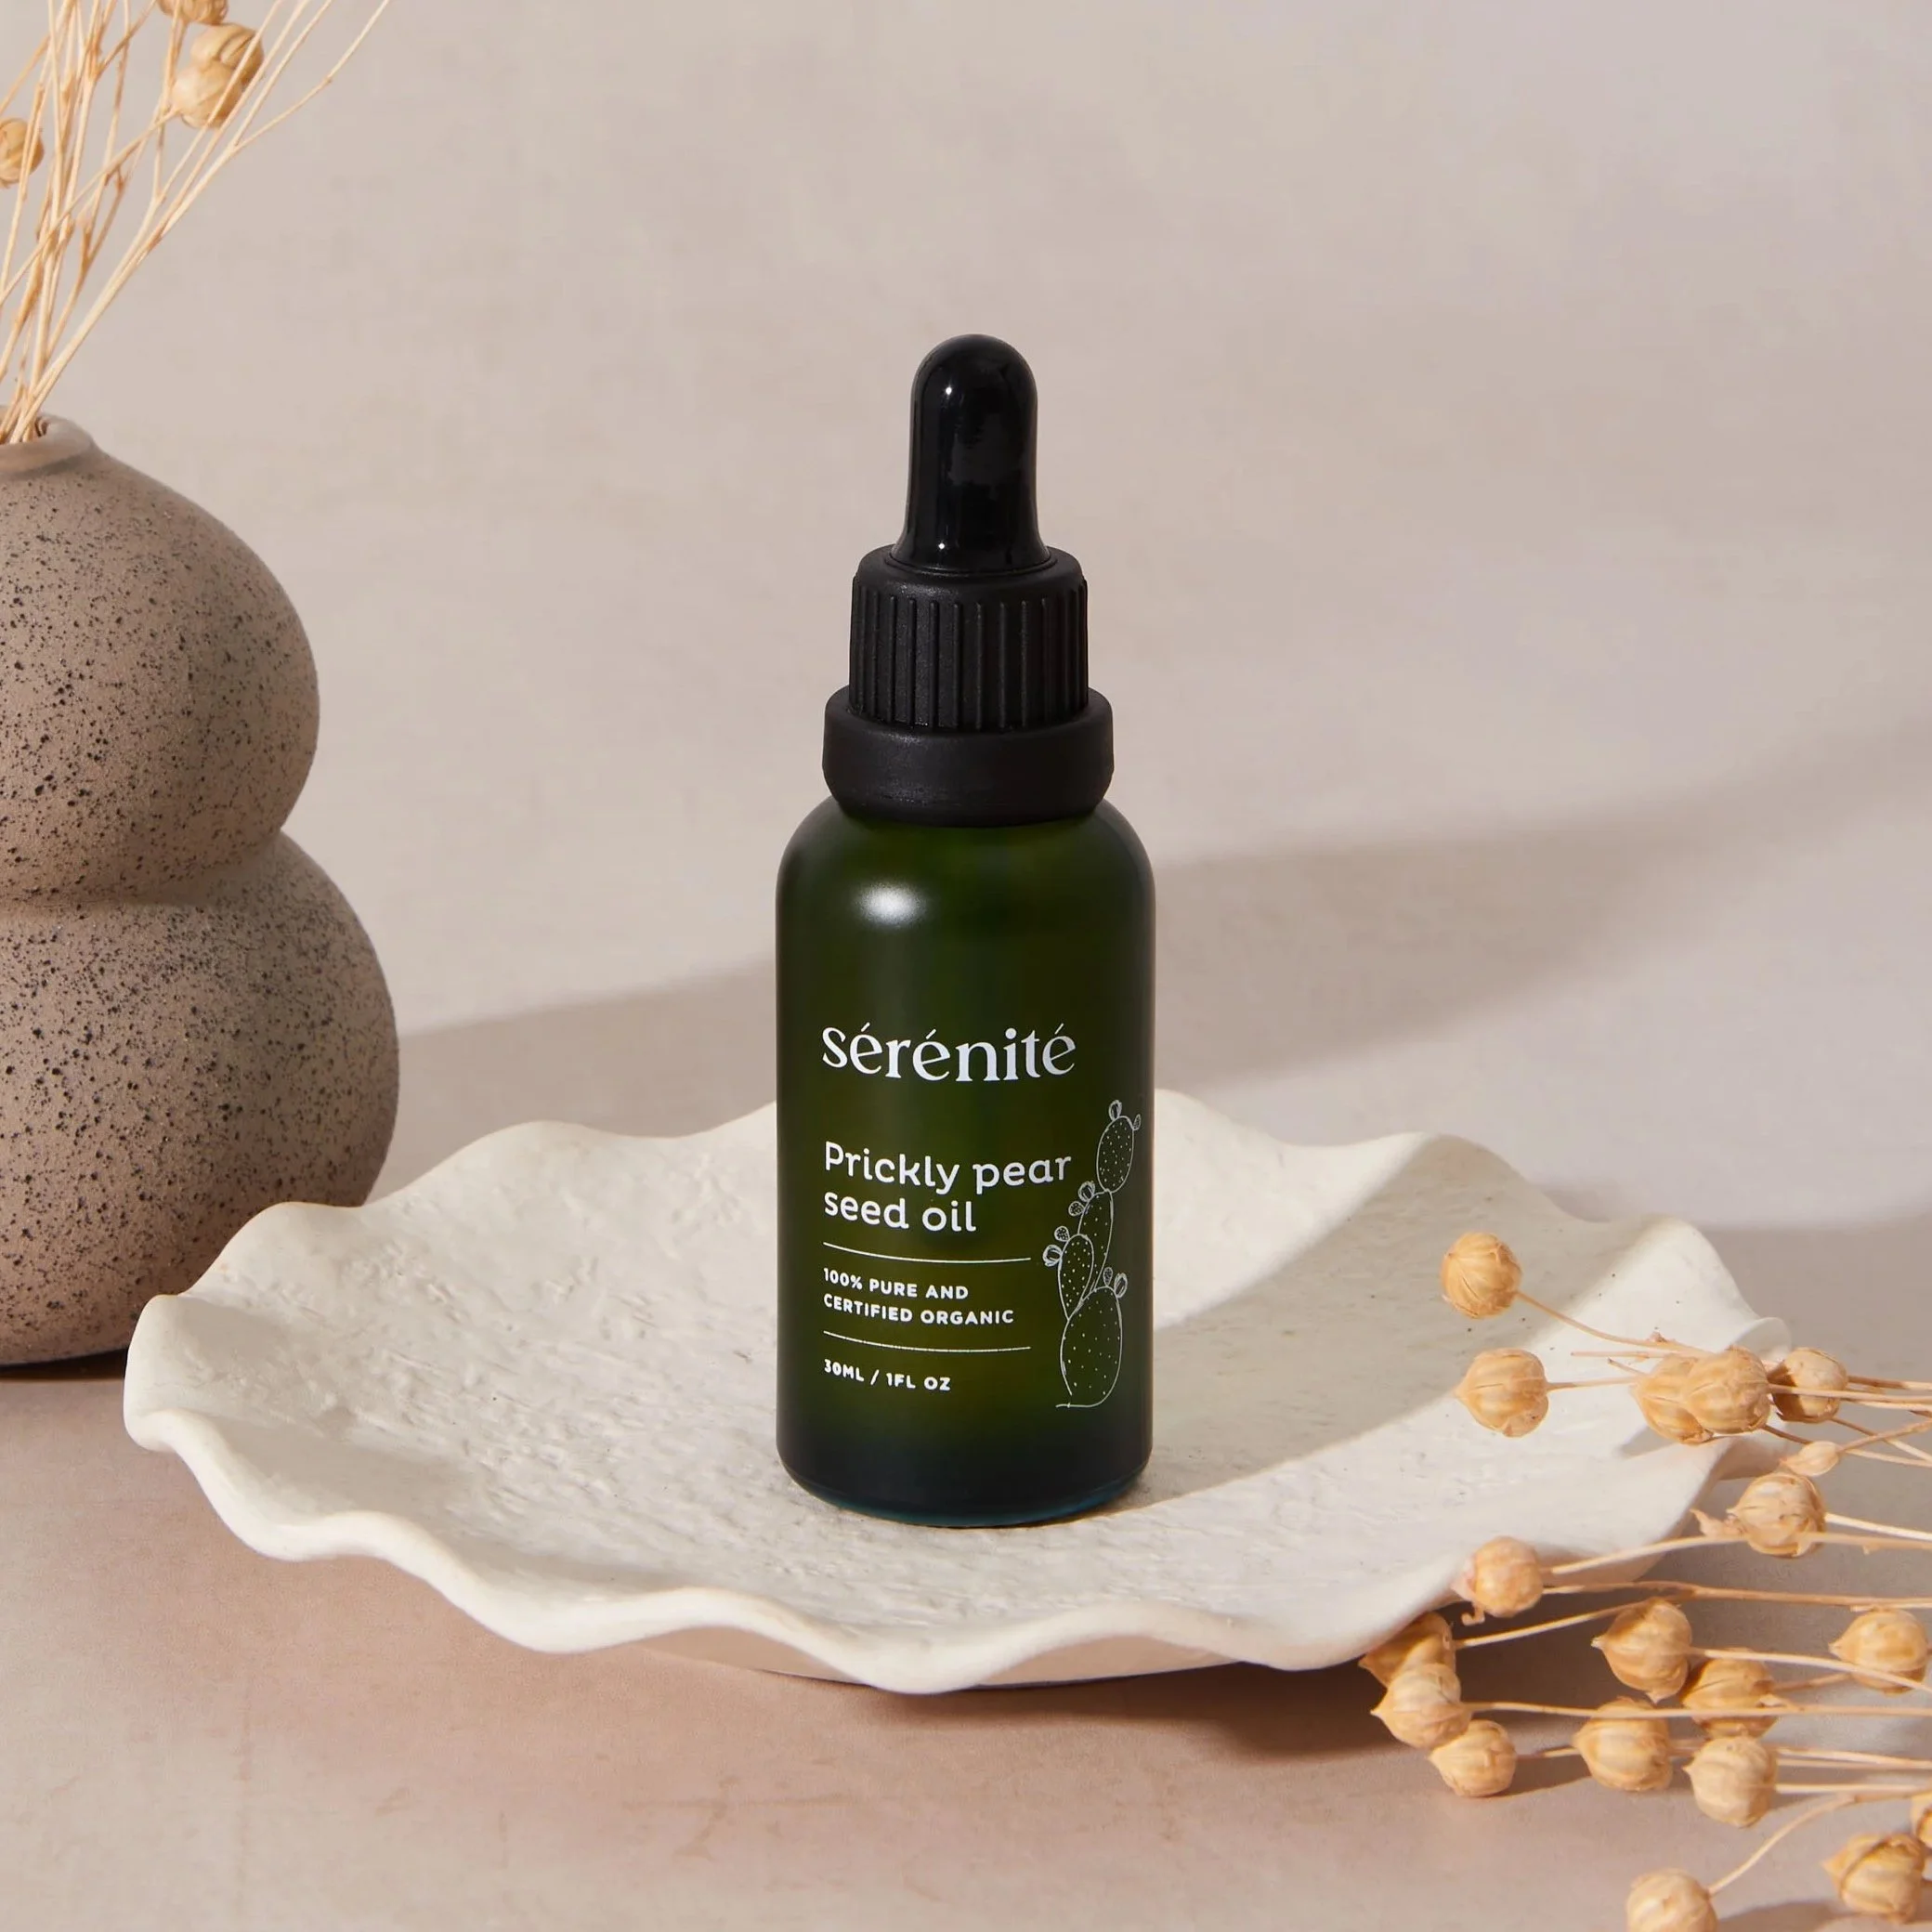
For table top shots:
Shoot from the same level as the product, or slightly above if there’s details to see at the top
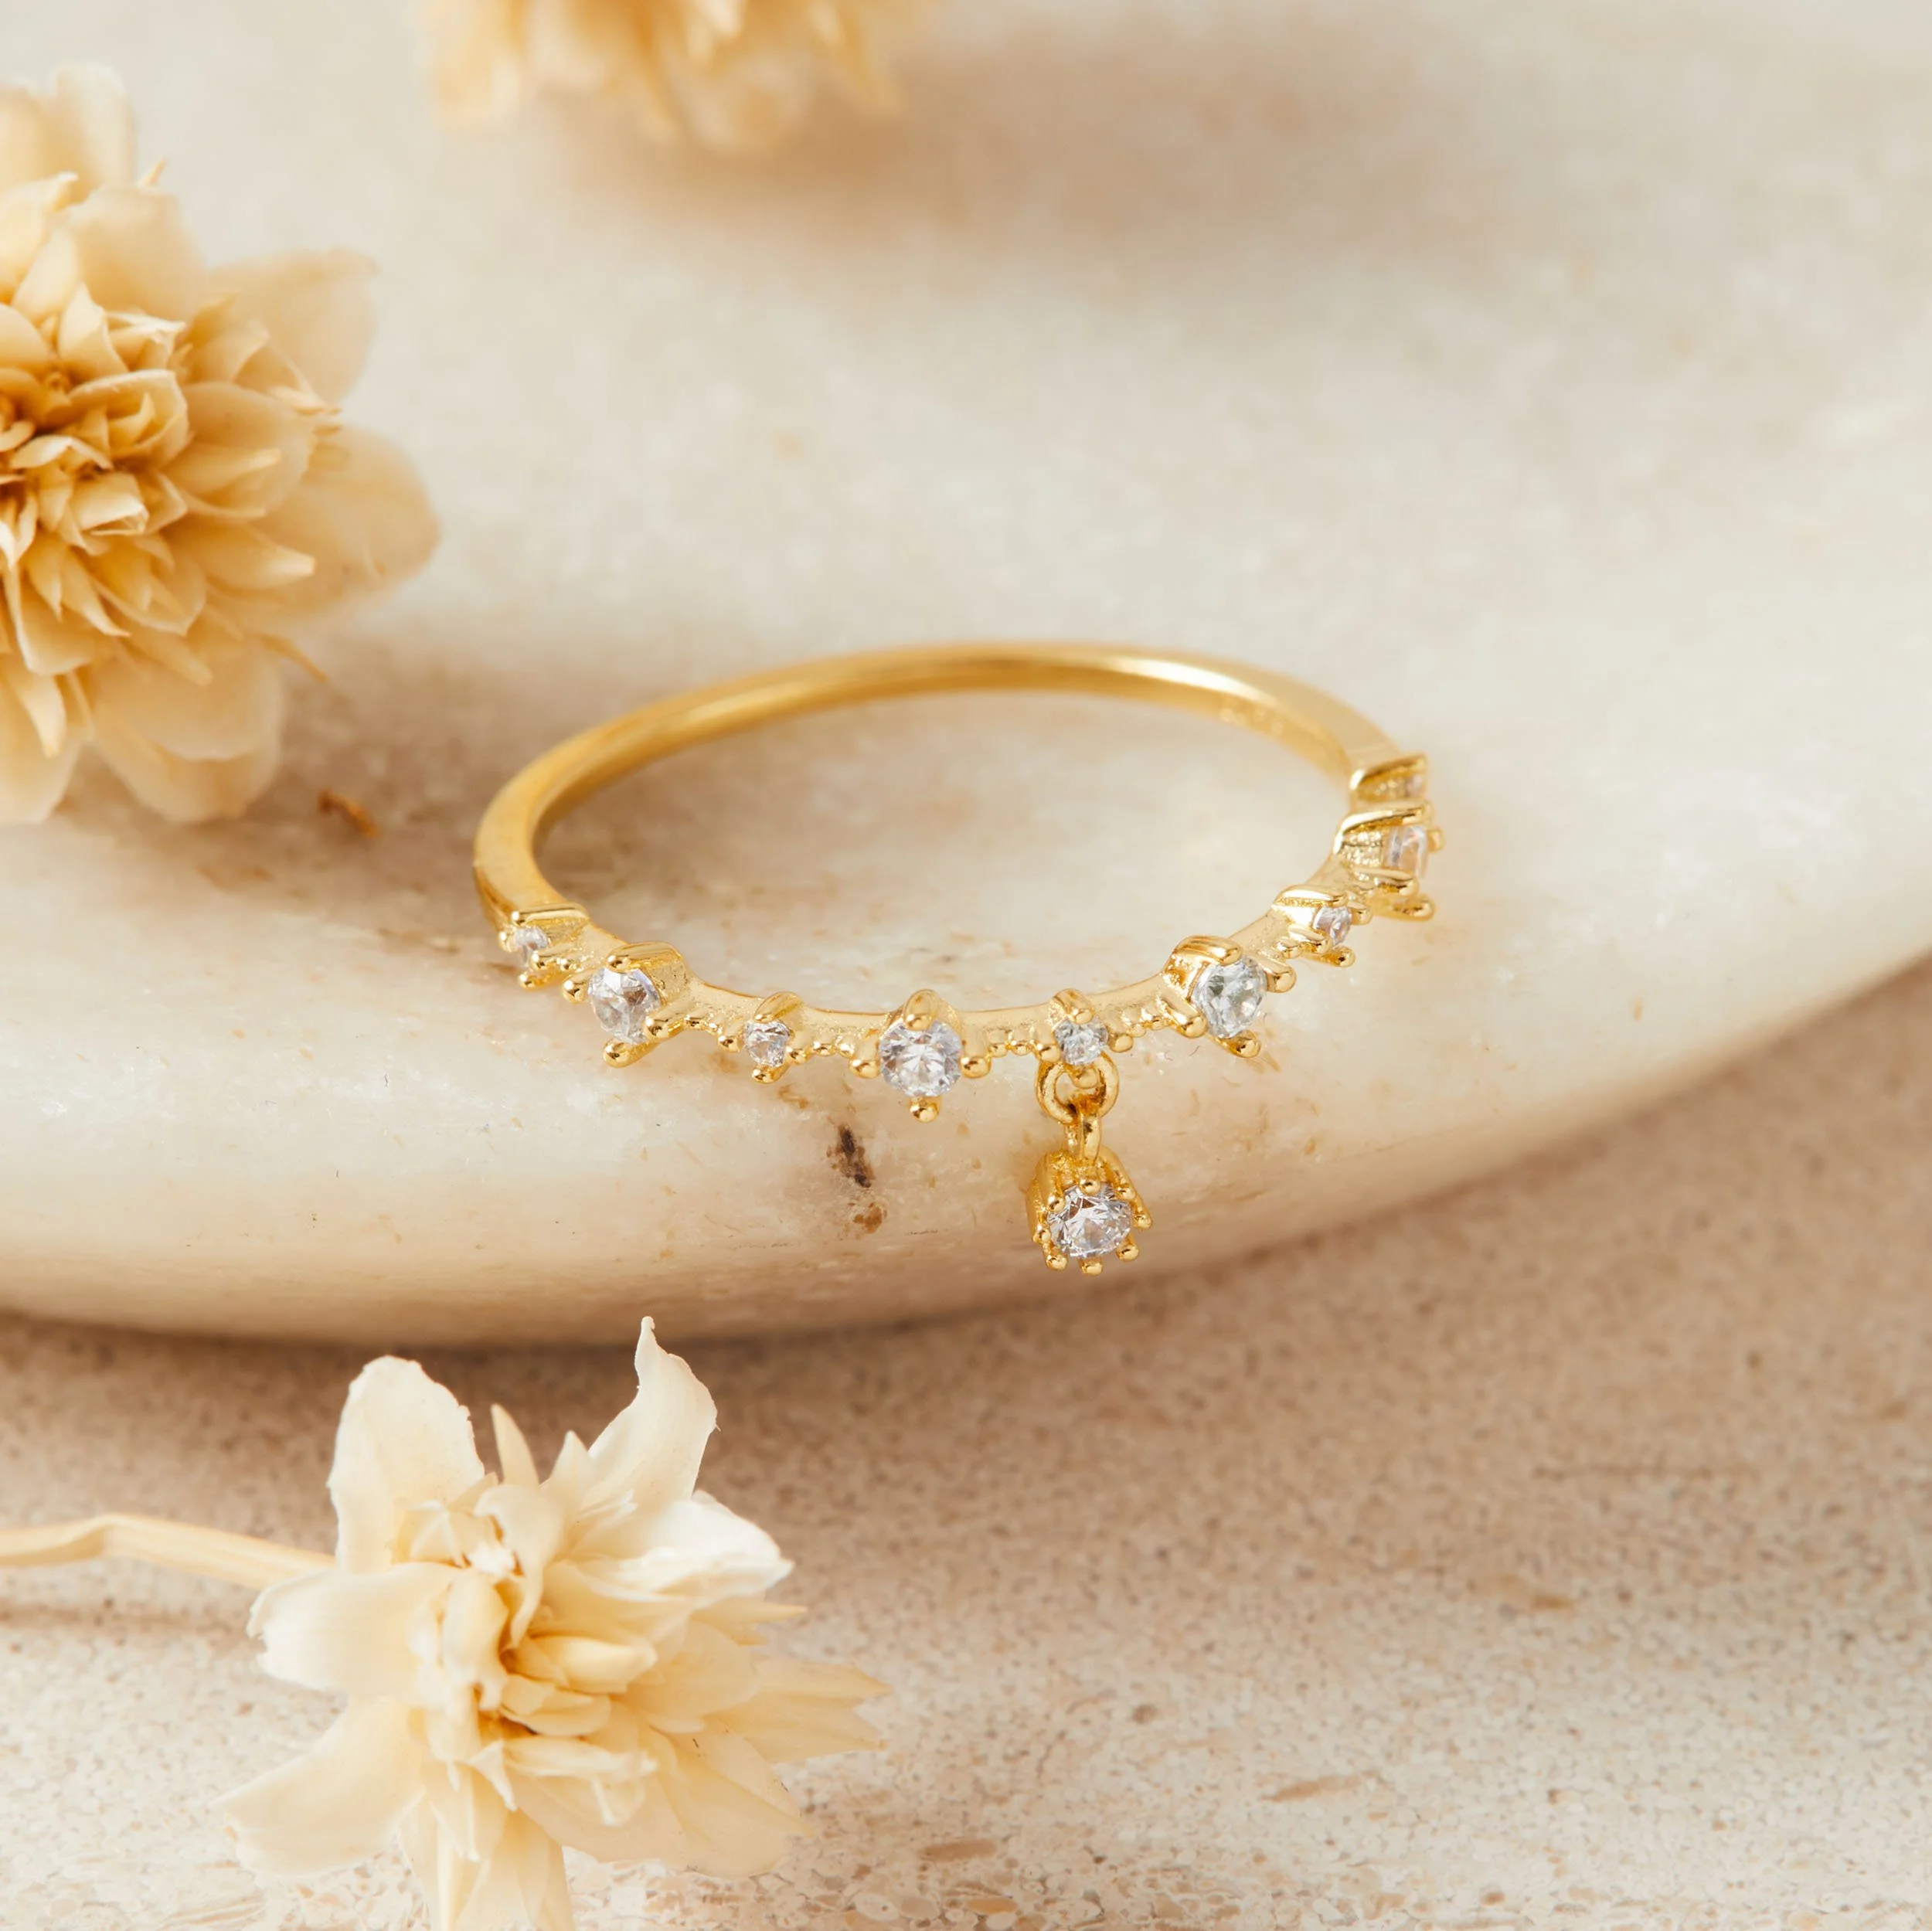
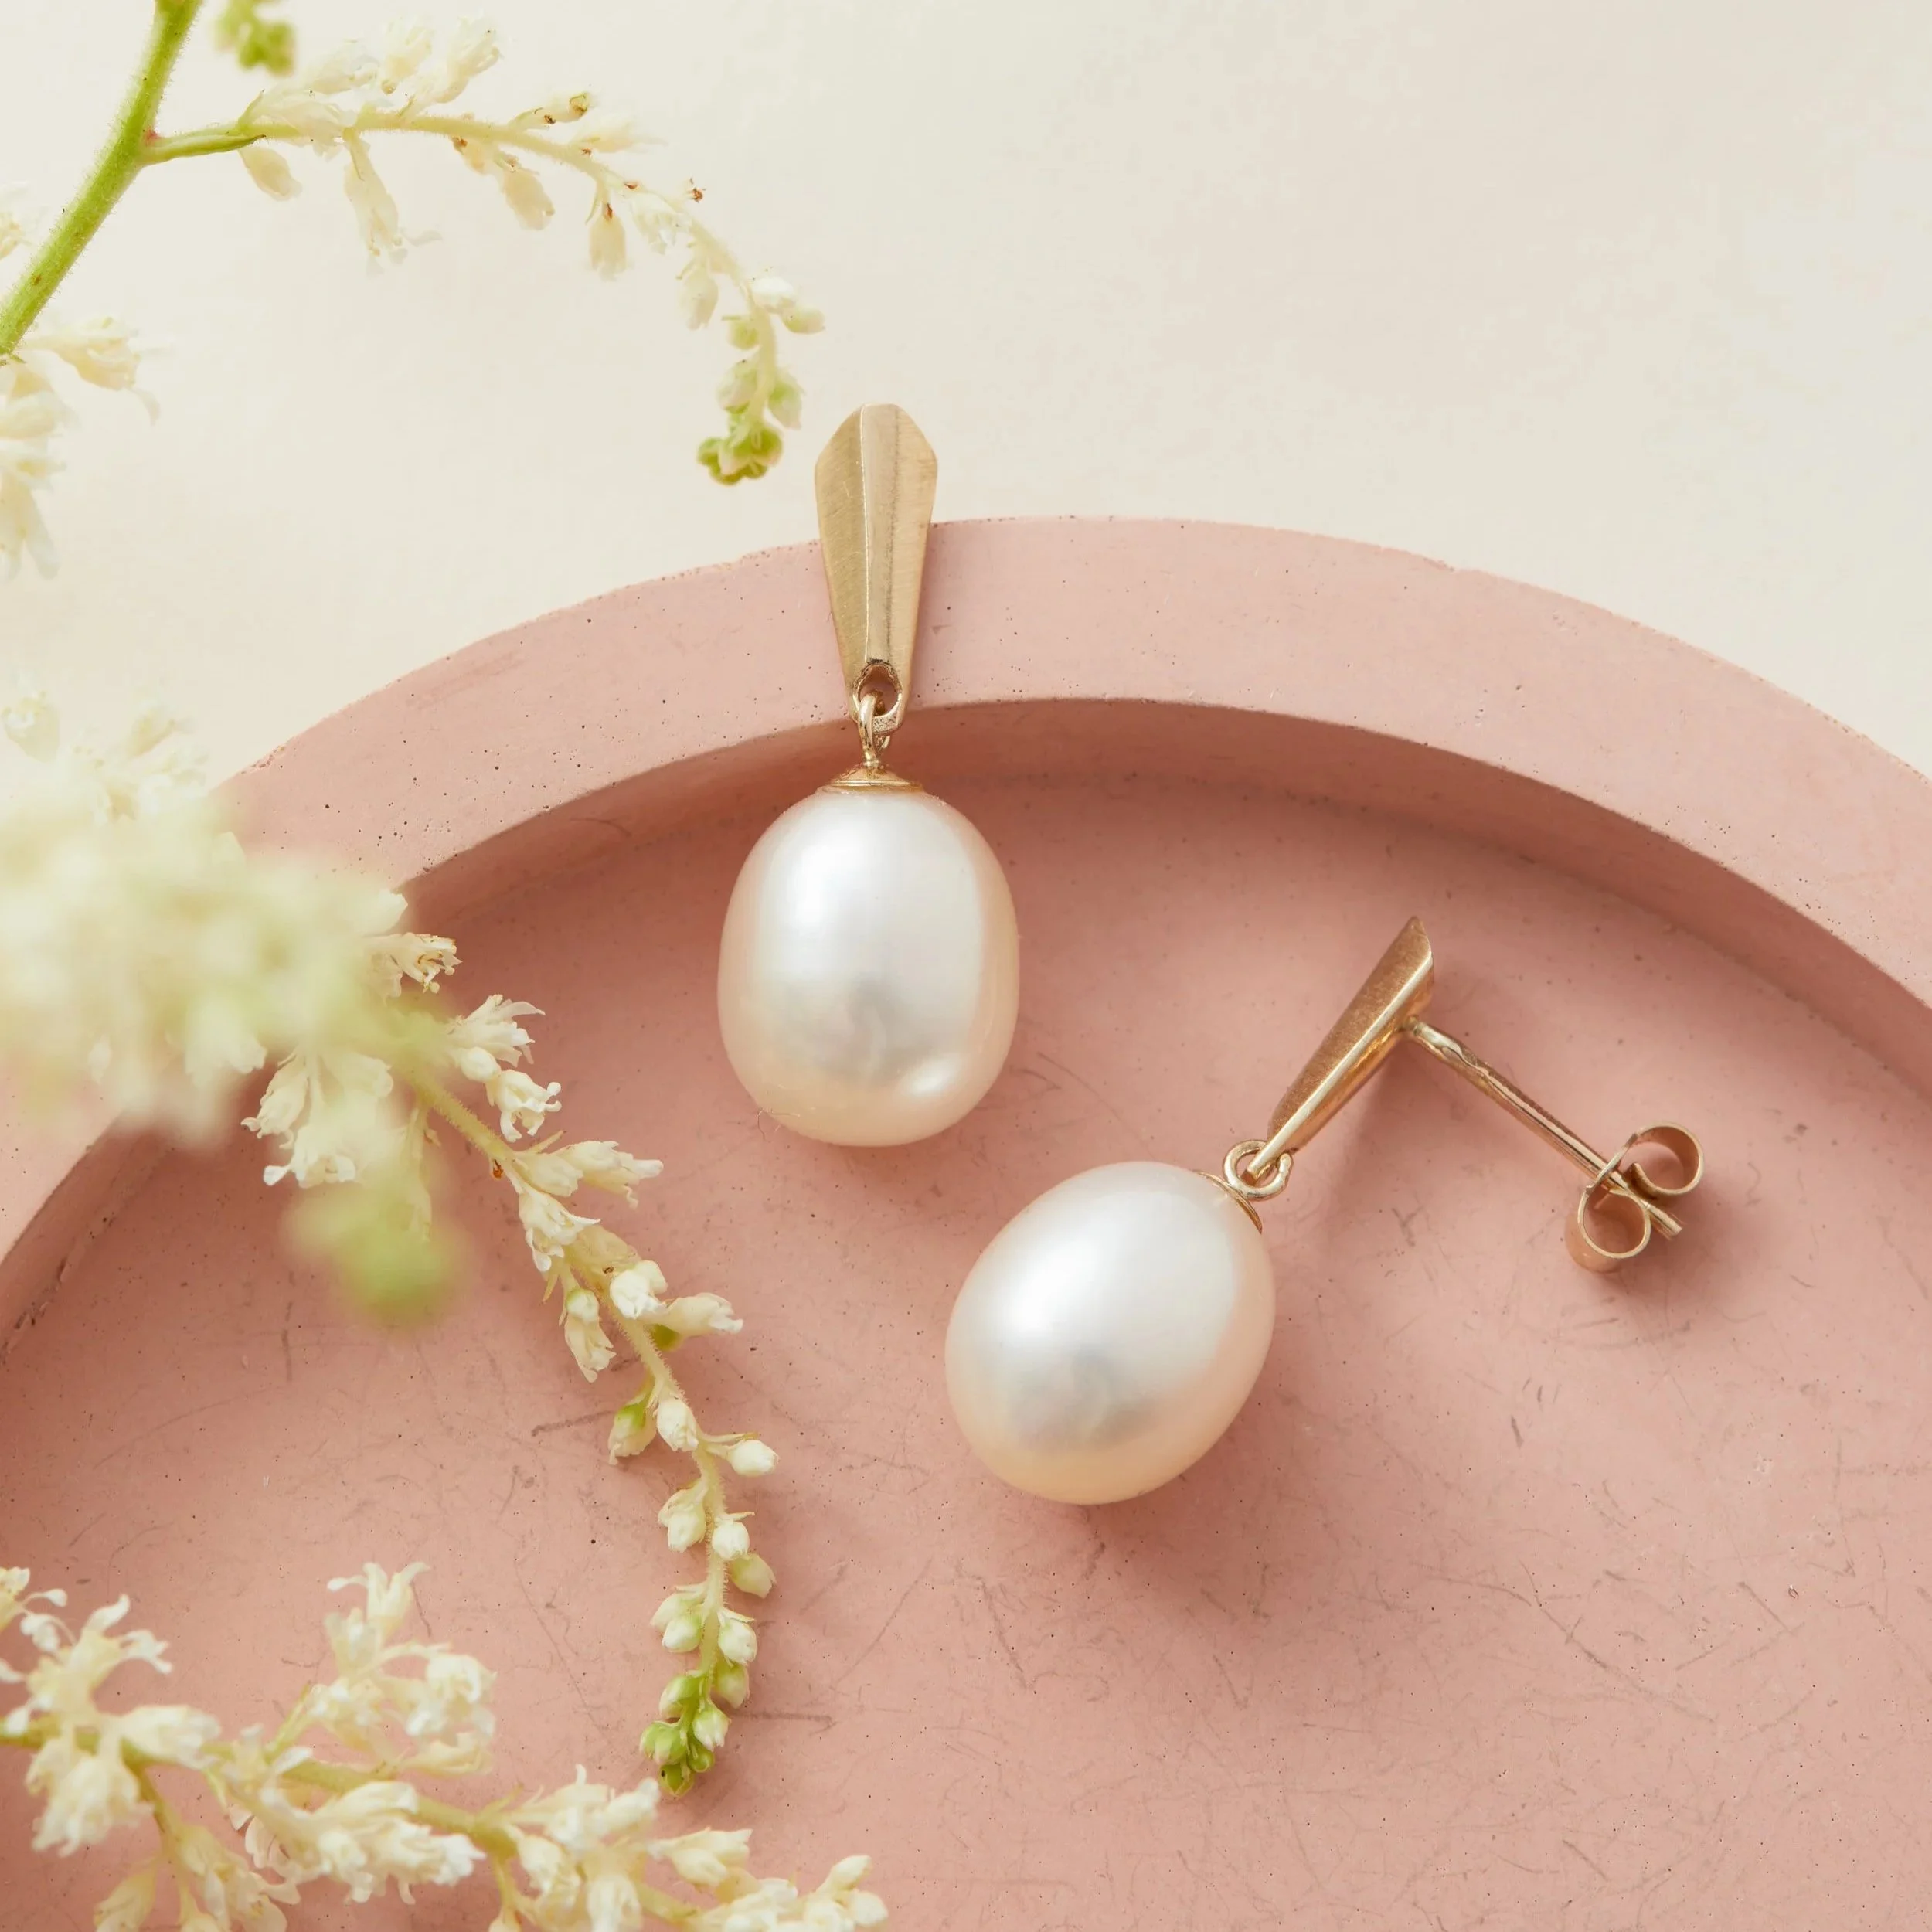
Get a close-up detail shot — texture, stitching, glaze, grain. This is what Folksy buyers love
Show scale where relevant — a hand holding your product, or a lifestyle context, helps buyers understand size at a glance


Step 6: How Many Photos Should You Include?
Aim for 4–5 images per product:
Main listing image — clean, well-lit, simple background & styling
Detail shot — close-up of texture, craft, or finishing
Scale shot — hand holding, lifestyle context, or object for scale
Alternative angle — side, back, or flat lay
Lifestyle or styled shot — the product in use or in a beautiful setting
Your main listing image is the most important — it's what appears in search results and on your shop page. Make it count.
Step 7: A Word on Consistency
One of the things that sets successful Folksy shops apart is a consistent, recognisable visual style. When buyers land on your shop page and see a cohesive grid of images, it signals professionalism and builds trust — even subconsciously.
You don't need every photo to be identical, but try to use the similar background tones (eg all pastels), similar lighting, and a consistent style of editing across your listings. Even small things — like always shooting from the same angle, or always including a sprig of greenery as a prop — create a sense of brand identity that makes your shop memorable.
Quick Checklist: Before You Shoot
✅ Window light is soft and indirect — no direct sun
✅ Background is clean, consistent and free of distractions
✅ Product is clean, pressed or polished
✅ Phone exposure is adjusted, or camera settings are set
✅ Tripod or stable surface to avoid camera shake
✅ White bounce card ready on the opposite side to the window
✅ Props are simple and complementary — not competing
✅ You have planned at least 4–5 different shots
Ready to Go Deeper?
This guide covers the essentials, but there's so much more to explore — from editing your photos and understanding composition, to planning a full photoshoot and creating a consistent brand look.
If you'd like to take your Folksy photos to the next level, my DIY Product Photography E-book covers everything in detail, written specifically for makers and small business owners shooting at home.
And if you're at a point where you'd love a set of truly stunning, professional images — hero shots, lifestyle photos, or model shoots — I'd love to work with you. Get in touch at dianastainton.com to find out more.
Because your handmade work deserves photos as beautiful as the care that went into making it. ✨