
How to Take Beautiful Candle Product Photos at Home
Introduction
There is something magical about a candle photograph done well. The warm glow, the soft shadows, the suggestion of a quiet evening in — it all adds up to something that makes a customer stop scrolling and actually look. But getting that shot? That can feel like the hard part. The good news is that beautiful candle photography doesn't require a professional studio or expensive equipment. With a window, a few props and some planning, you can create images at home that genuinely sell your products.
Why Candle Photography Matters
When someone lands on your product listing or Instagram profile, your photograph is doing all the selling. They can't smell the candle, they can't feel the weight of the glass, and they can't see how beautifully it burns. Your image has to communicate all of that — the quality, the mood, the lifestyle — in a single frame.
Candles also sell a feeling more than a product. A well-lit, beautifully styled candle photograph says: this is what your home could feel like. That emotional connection is what drives purchases.
The Best Light for Candle Photography
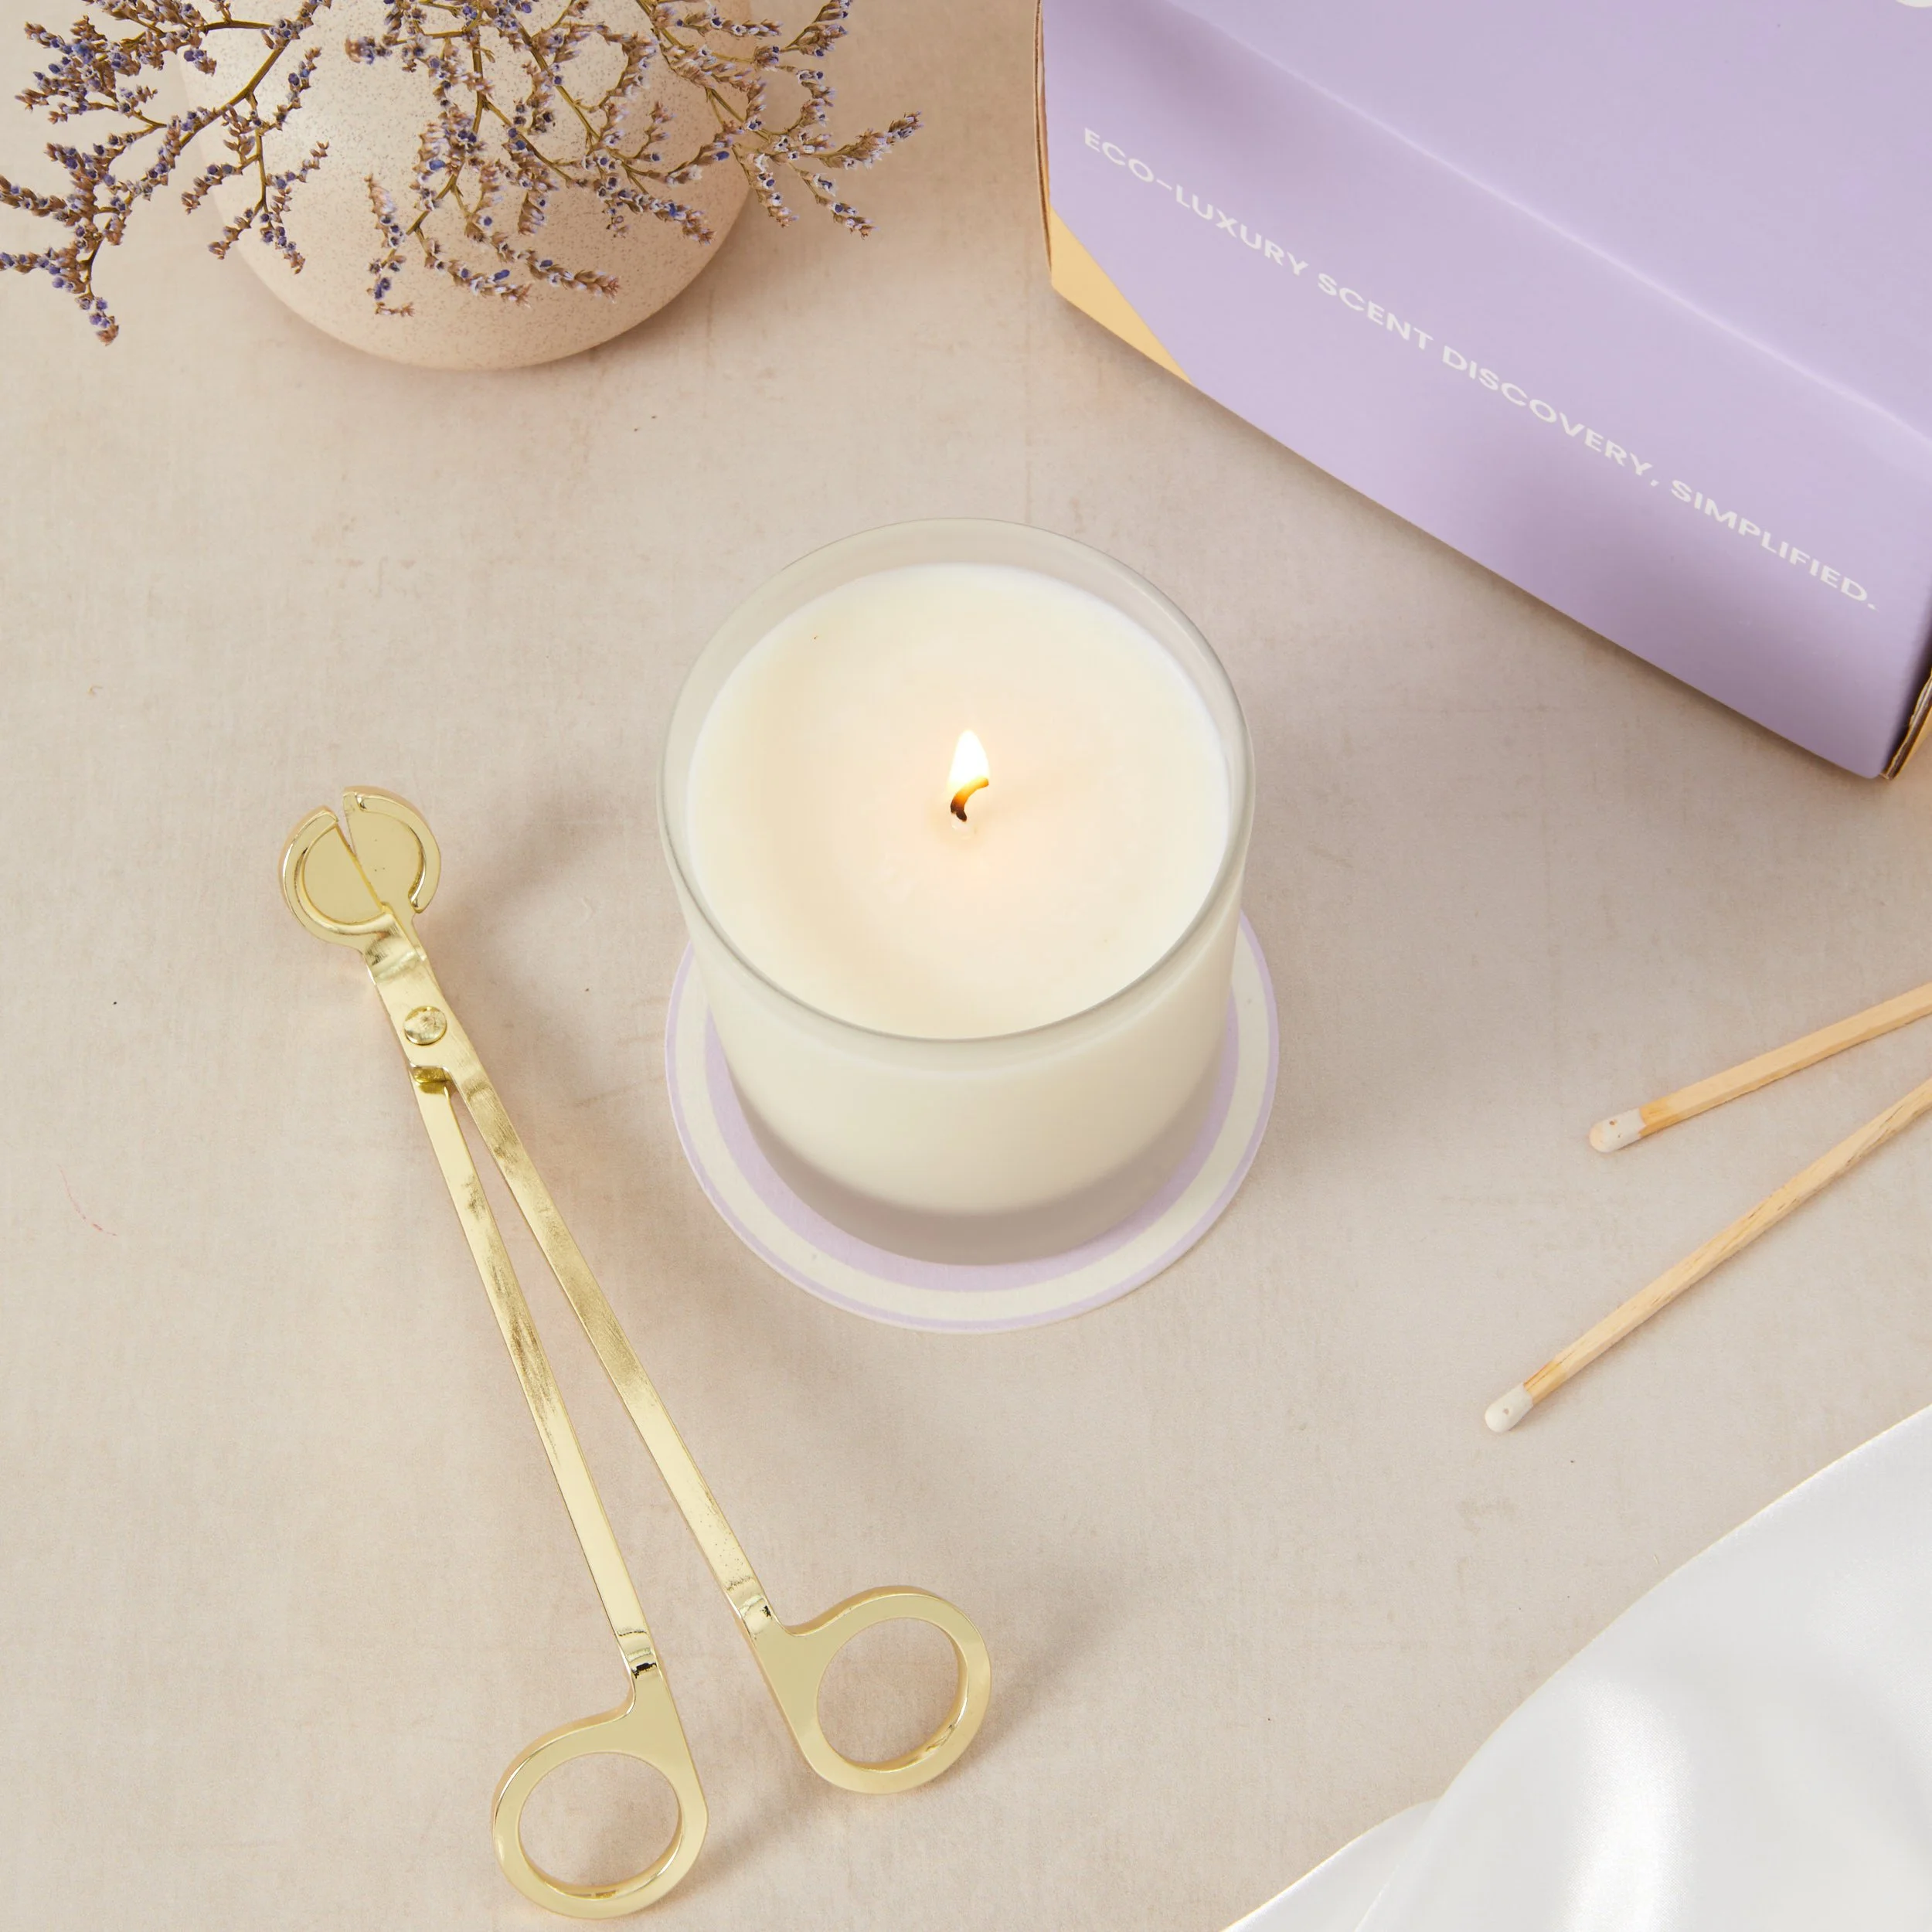
For most candle photography, soft natural light is your best friend. Set up near a large window — ideally away from direct sun light like a north facing window, where the light is diffused and gentle. This creates soft shadows and a natural, warm glow that suits the aesthetic of most candle brands.
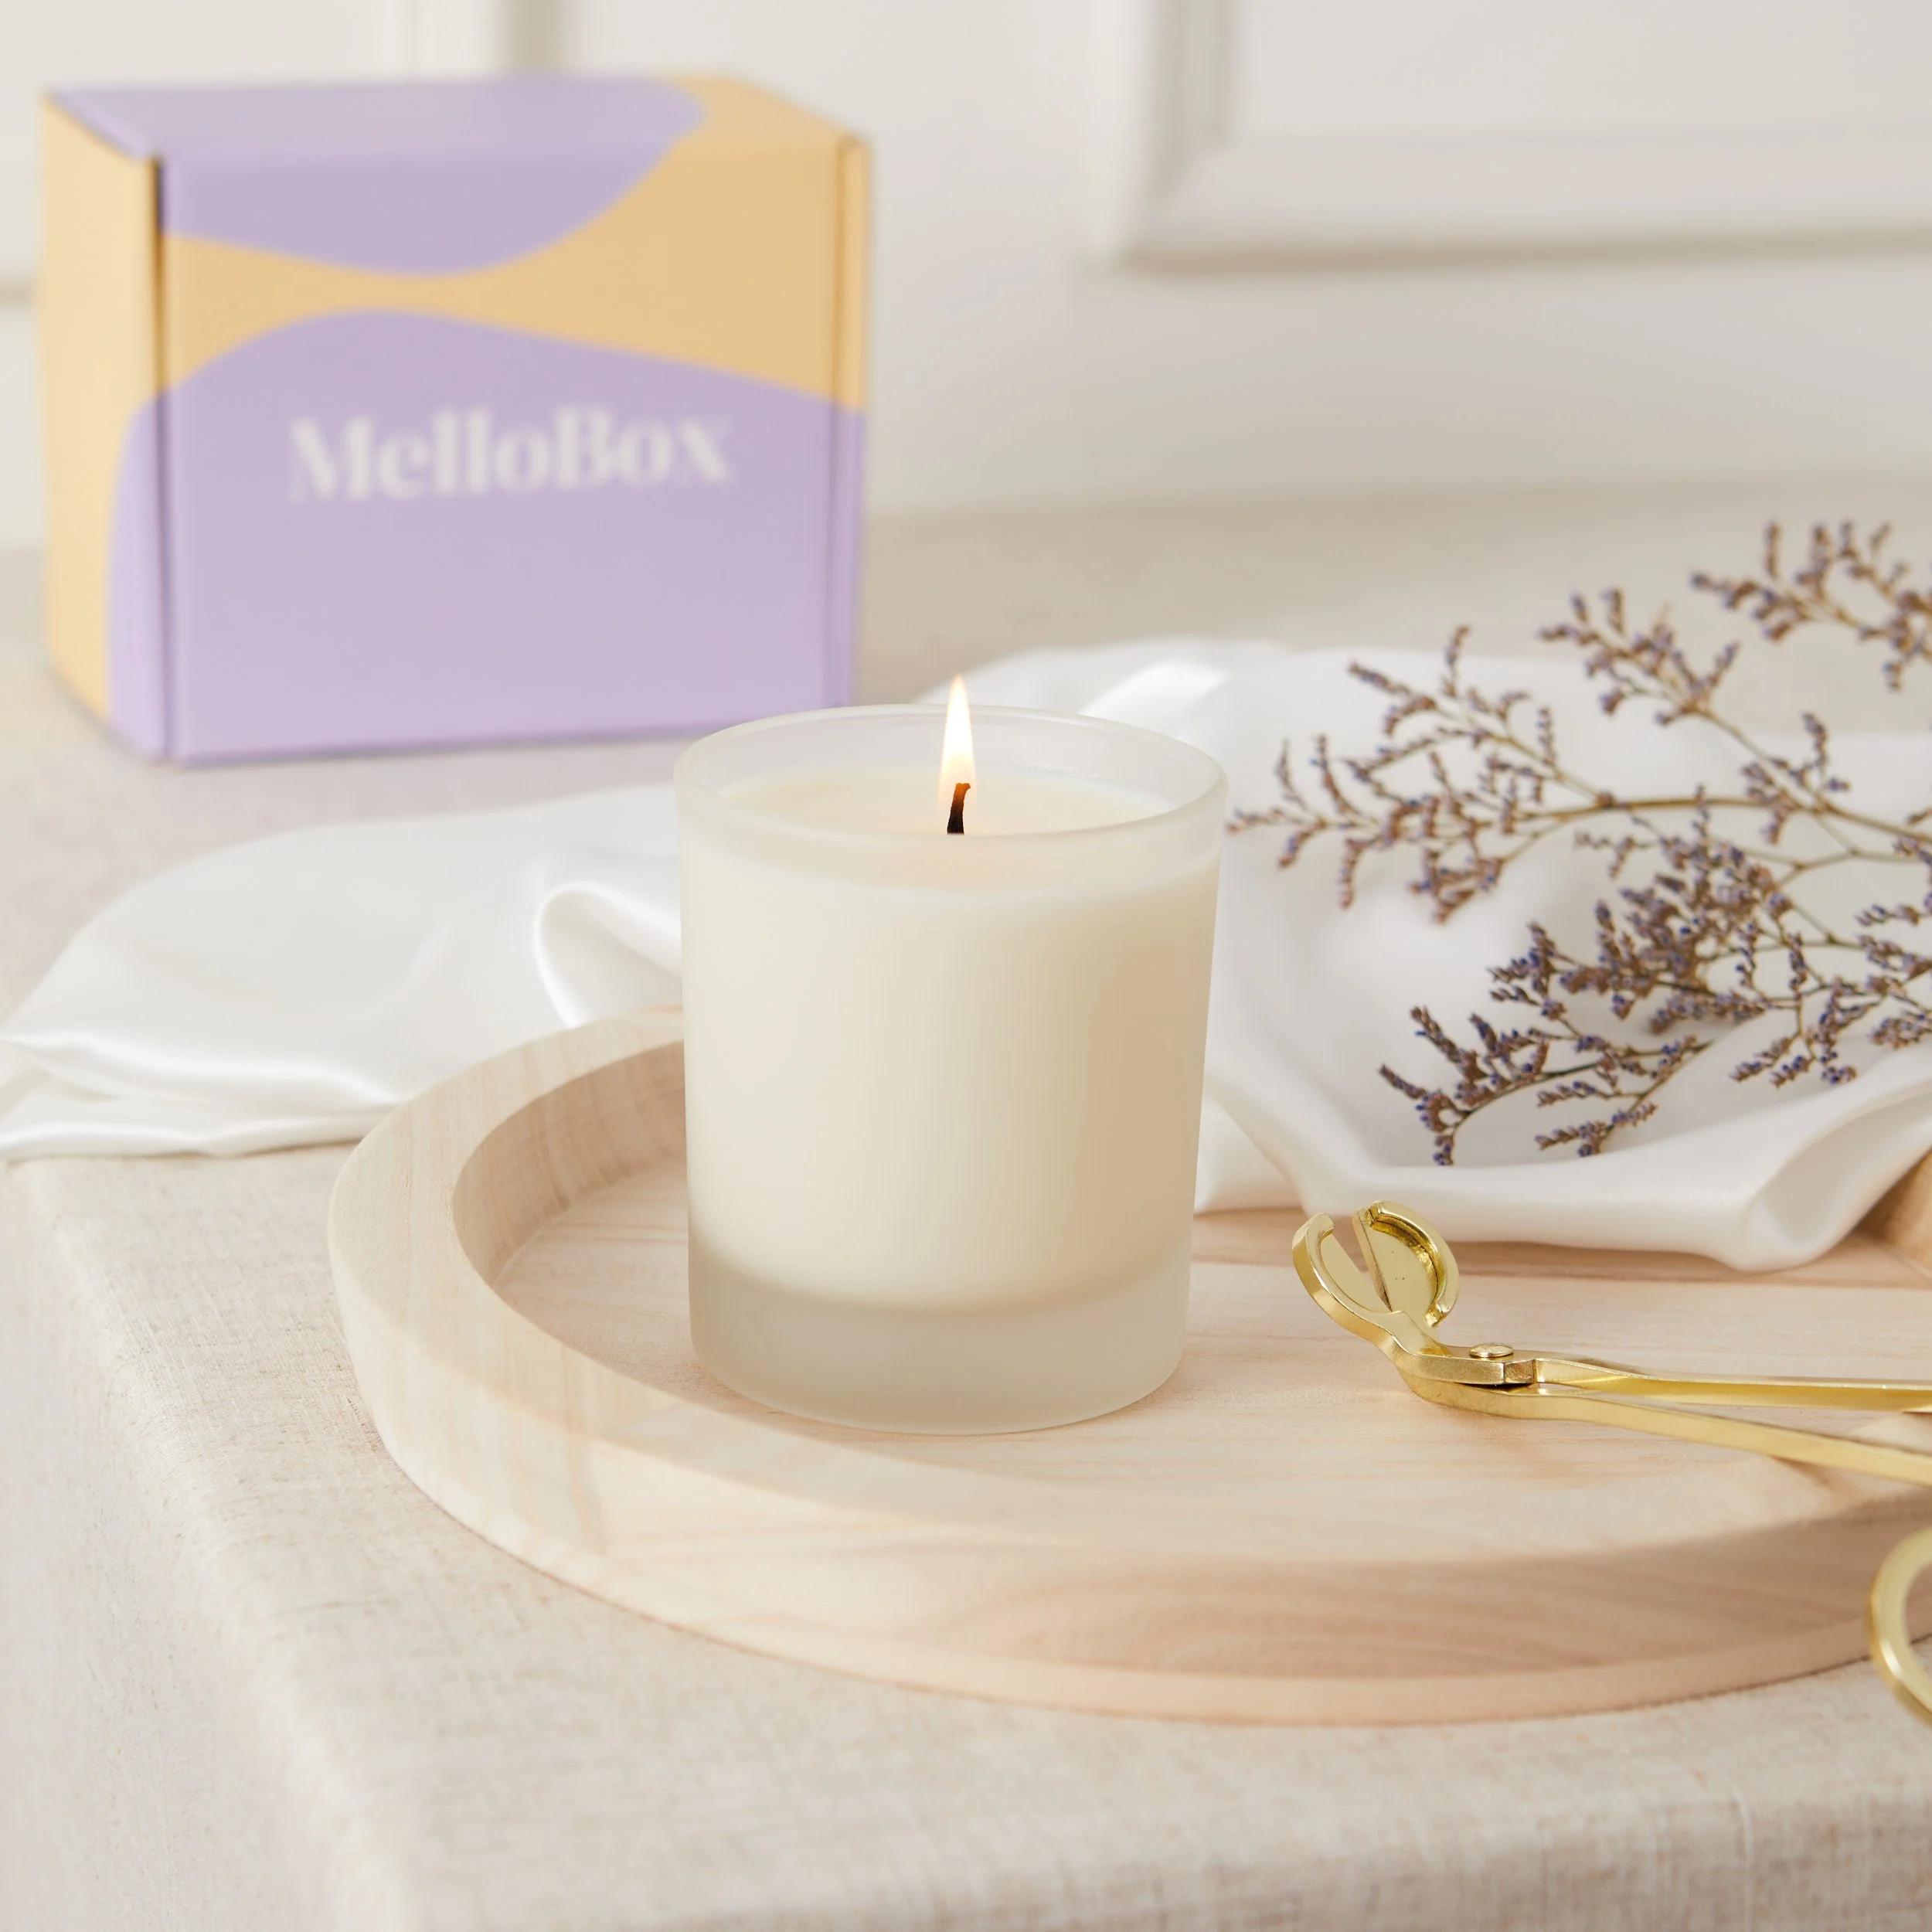
Position your candle to the side of the window (not directly in front of it), and use a piece of white foam board on the opposite side to bounce light back and fill in any dark shadows. This simple trick makes an enormous difference.
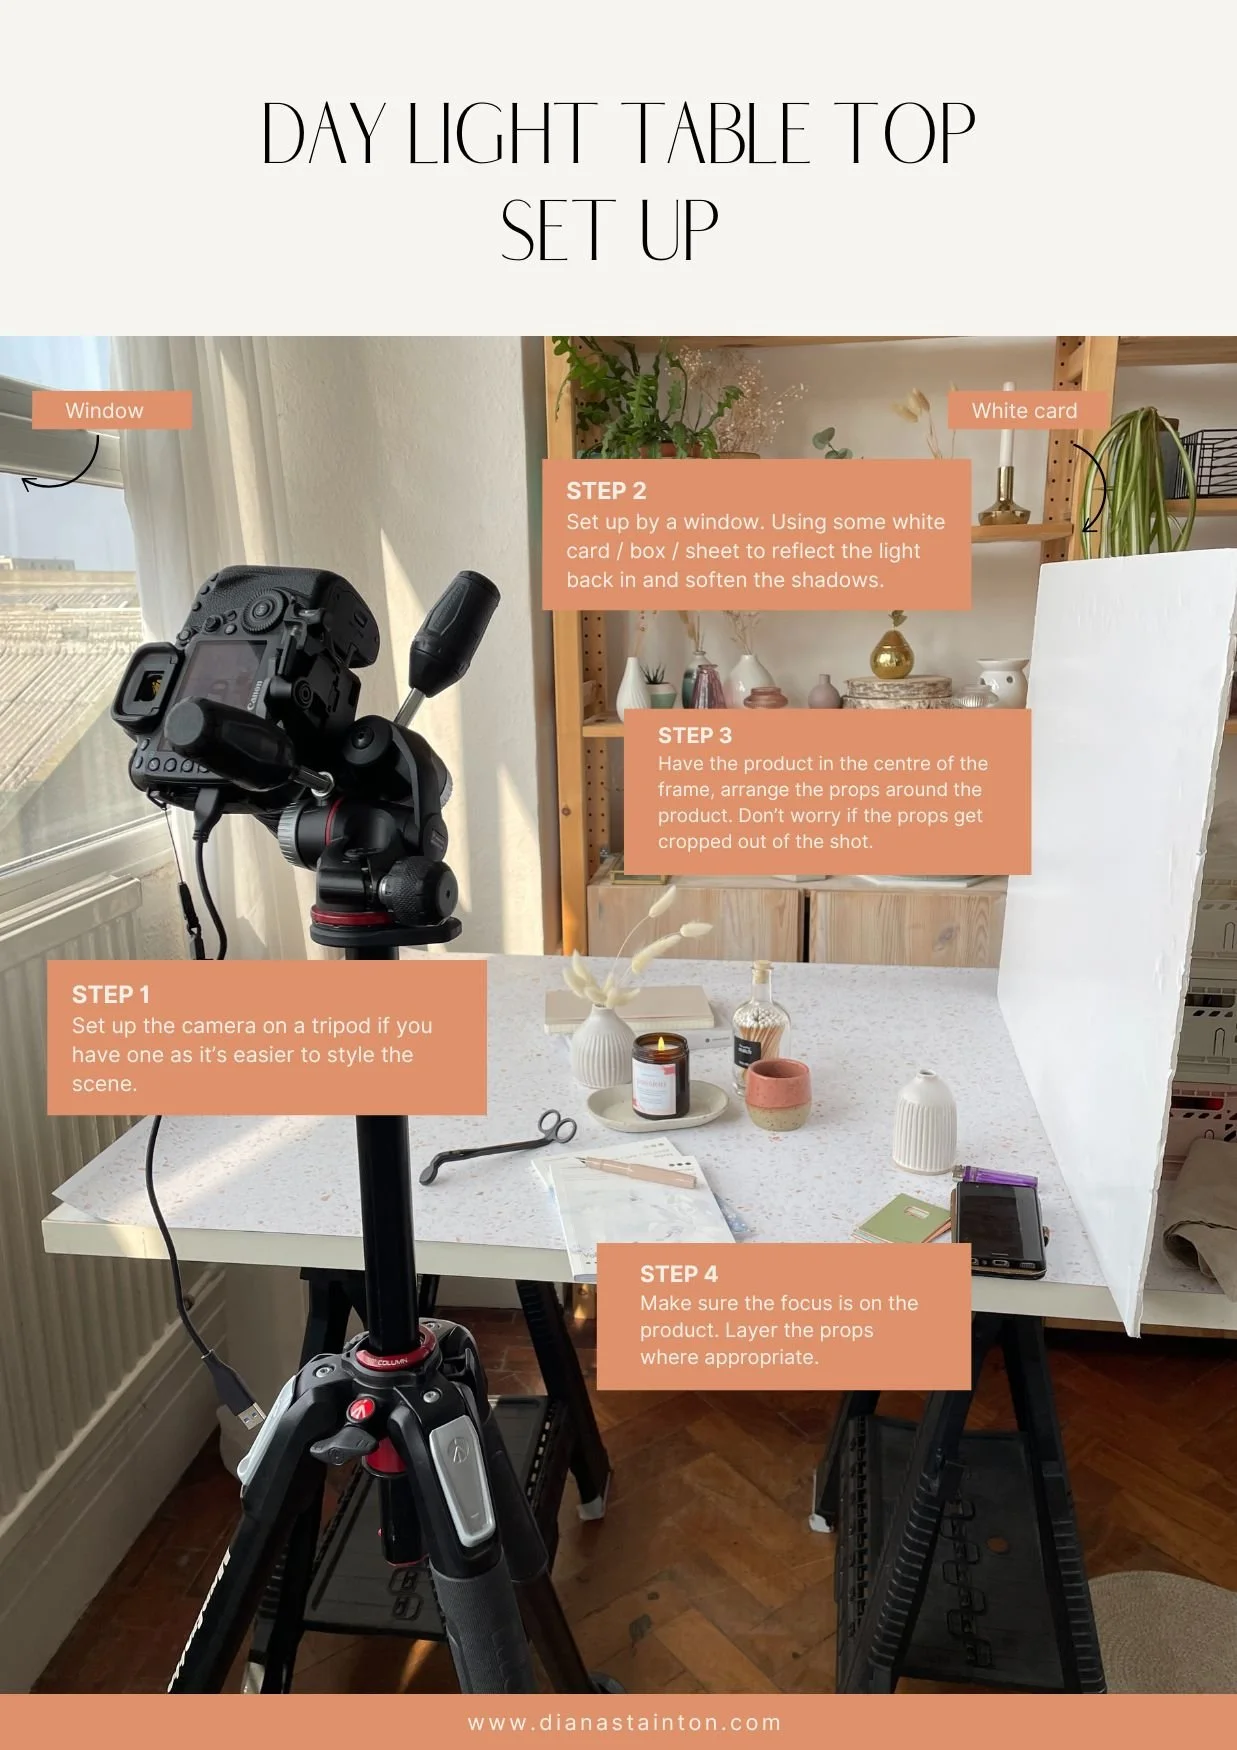
If you want to shoot after dark or create a more consistent setup, an LED continuous light with a softbox works brilliantly for candles. I use a Godox SL60w — it gives a beautiful, controllable light that you can move around to create different moods. You can find my full kit recommendations on my Amazon storefront.
One question I get asked constantly: should I light the candle? Yes! A lit candle adds warmth and that gorgeous flame detail that makes images feel alive. Just be aware that your camera may expose for the overall scene and underexpose the flame. Try tapping on the flame on your phone screen to let the camera adjust, or use a slightly longer exposure on your DSLR.
Choosing Your Background and Props
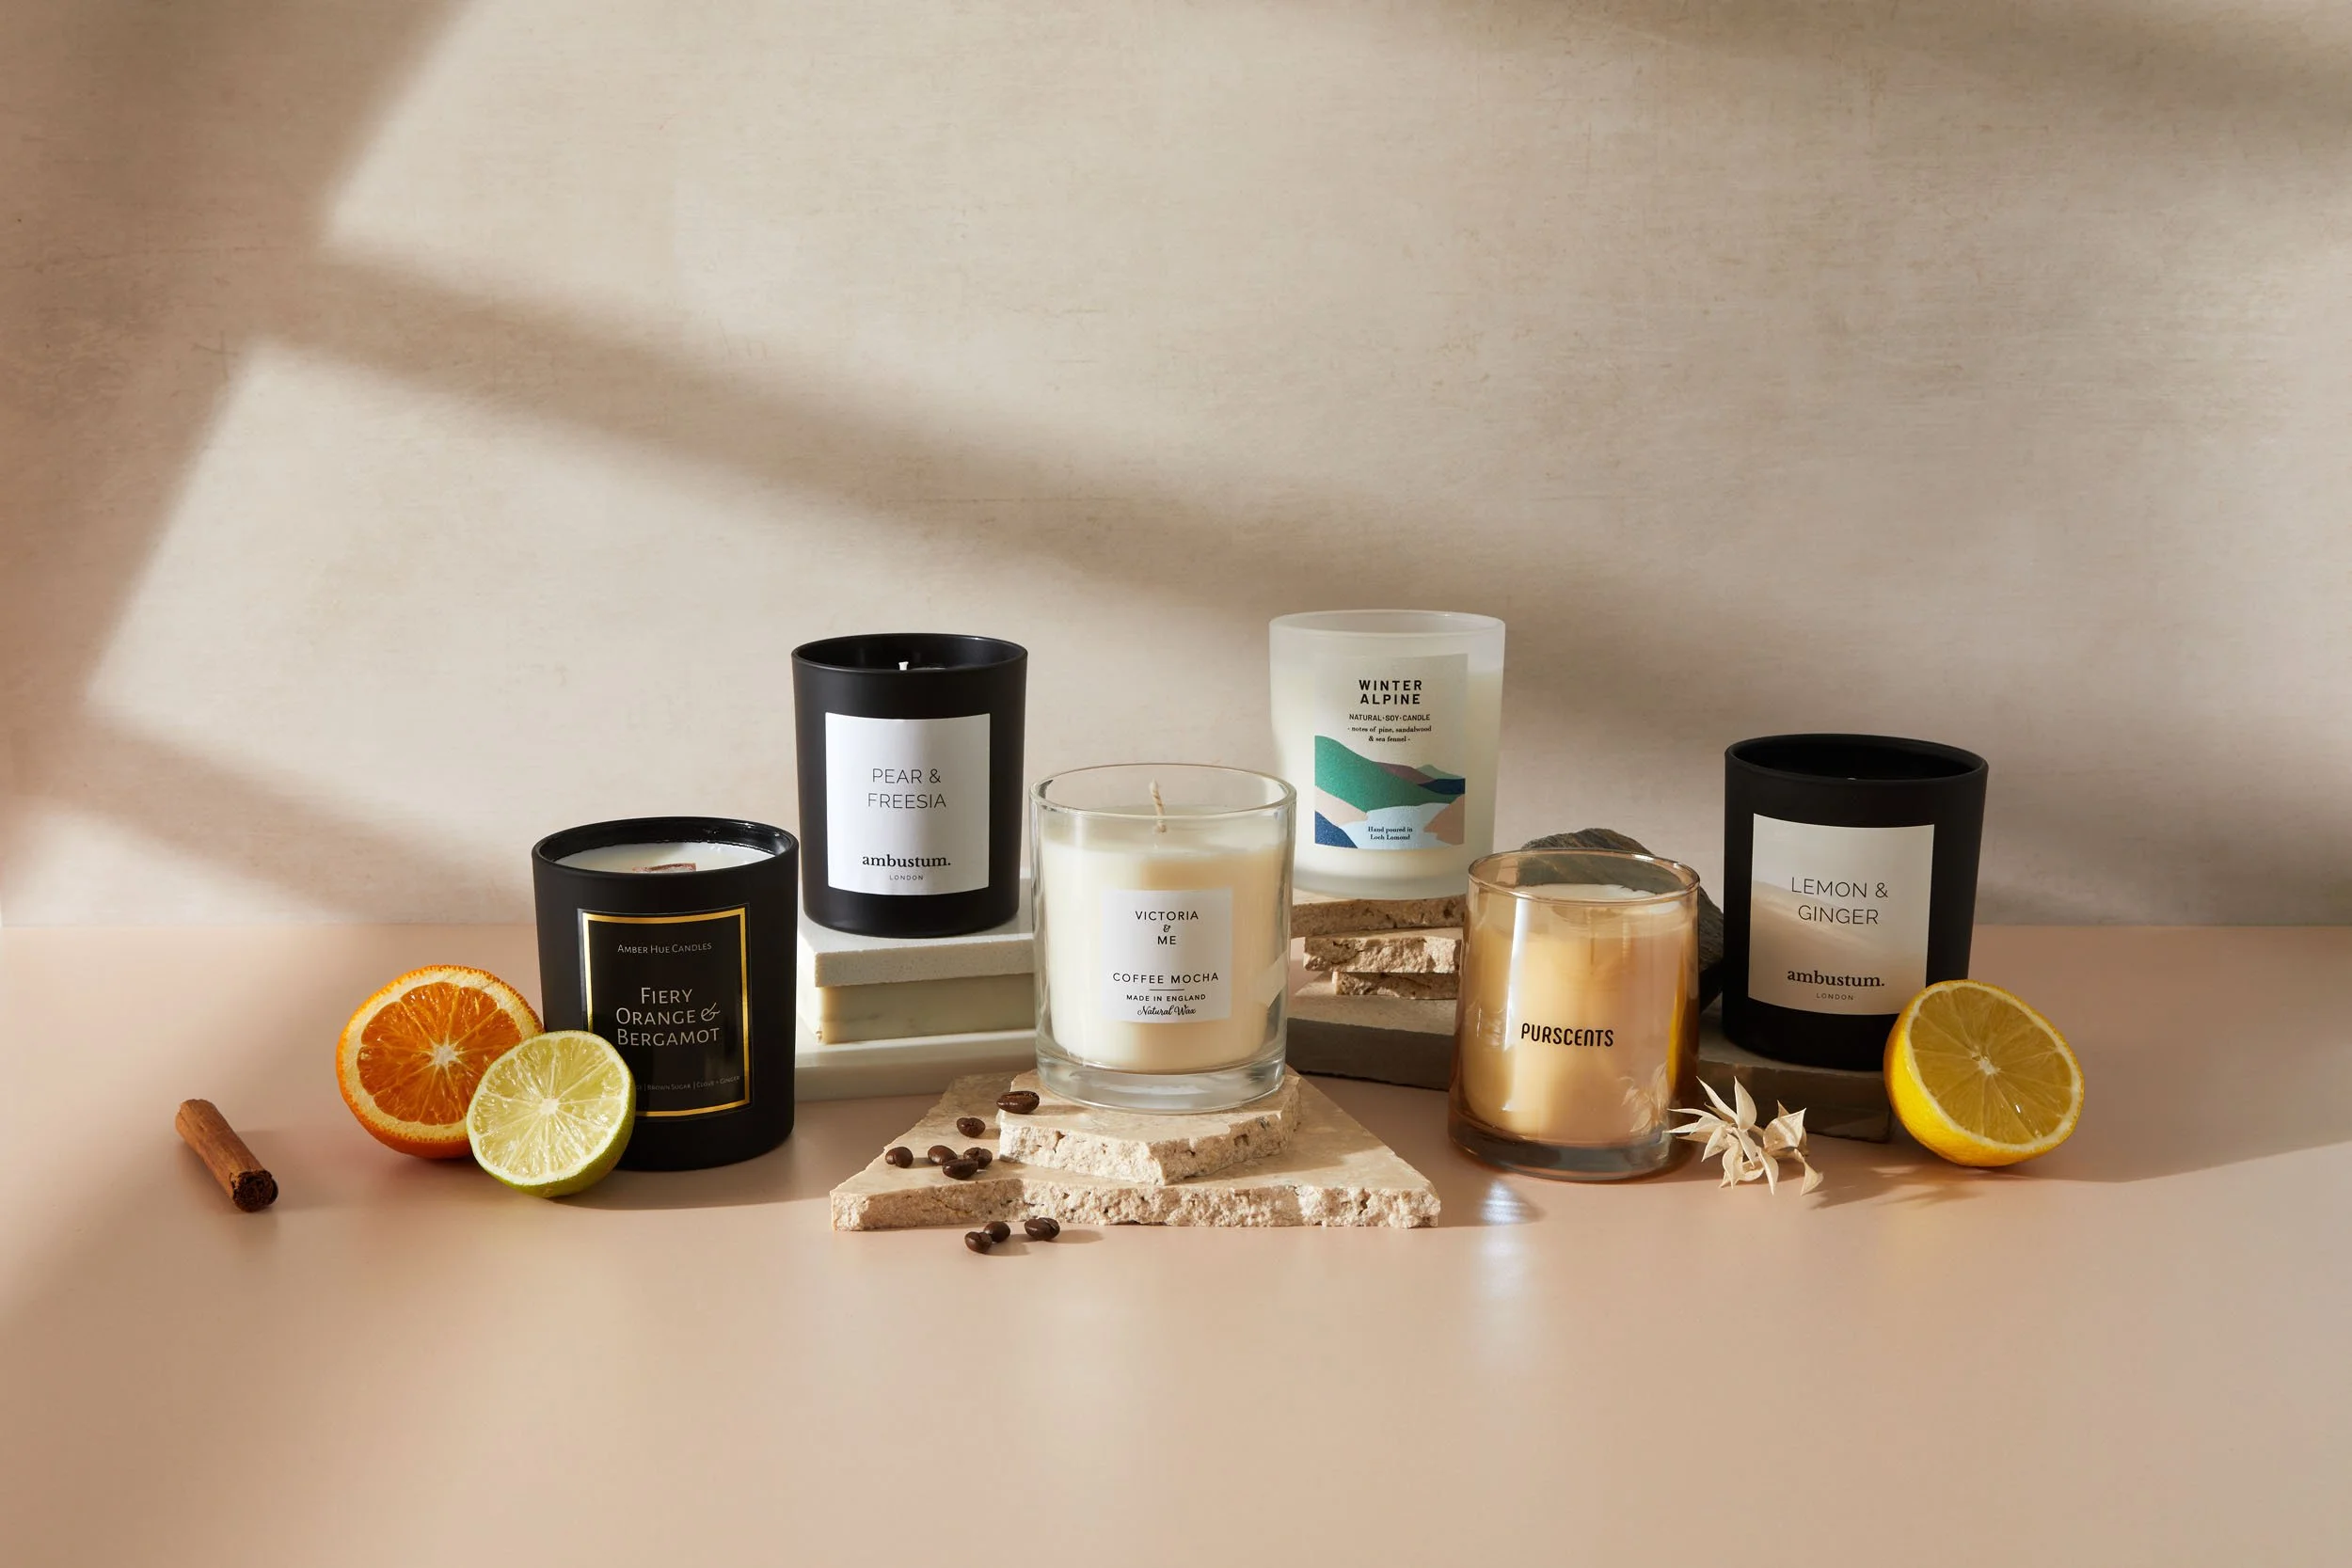
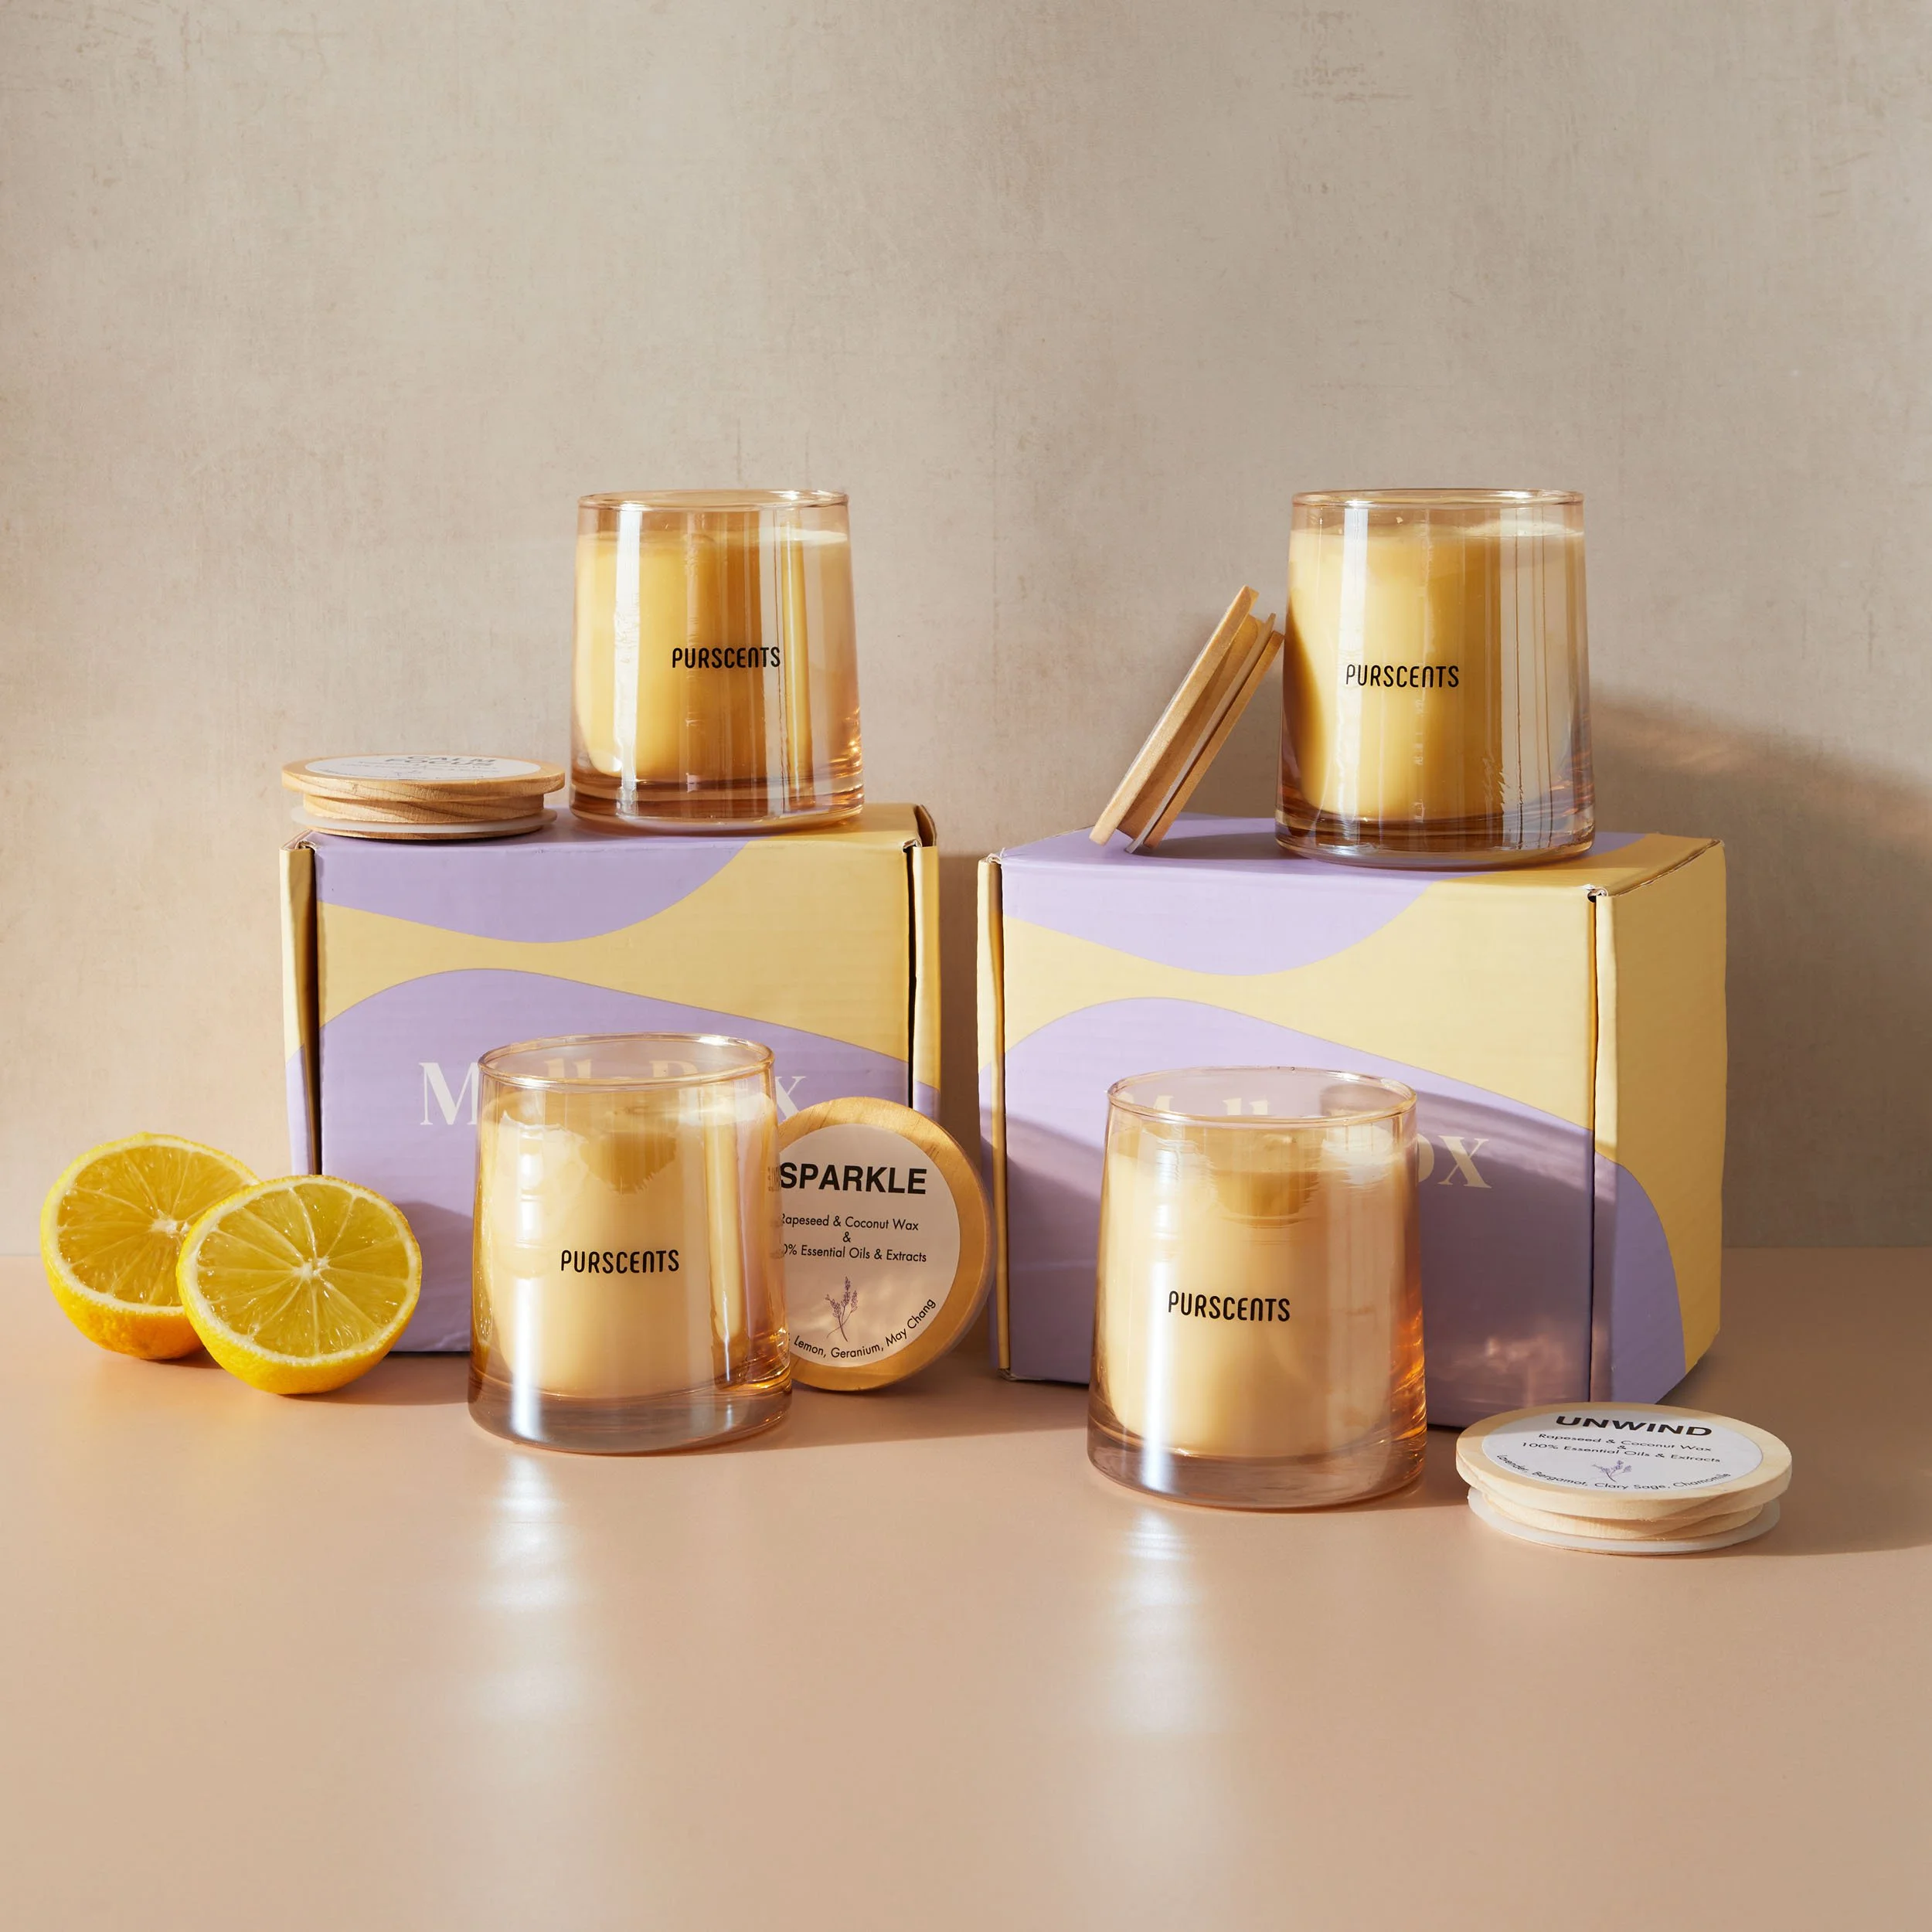
Keep your background simple and in keeping with your brand. Marble effect tiles, linen fabric, raw wood, painted boards, and textured paper all work beautifully for candles. Avoid anything too busy or patterned — you want the eye to land on your product.
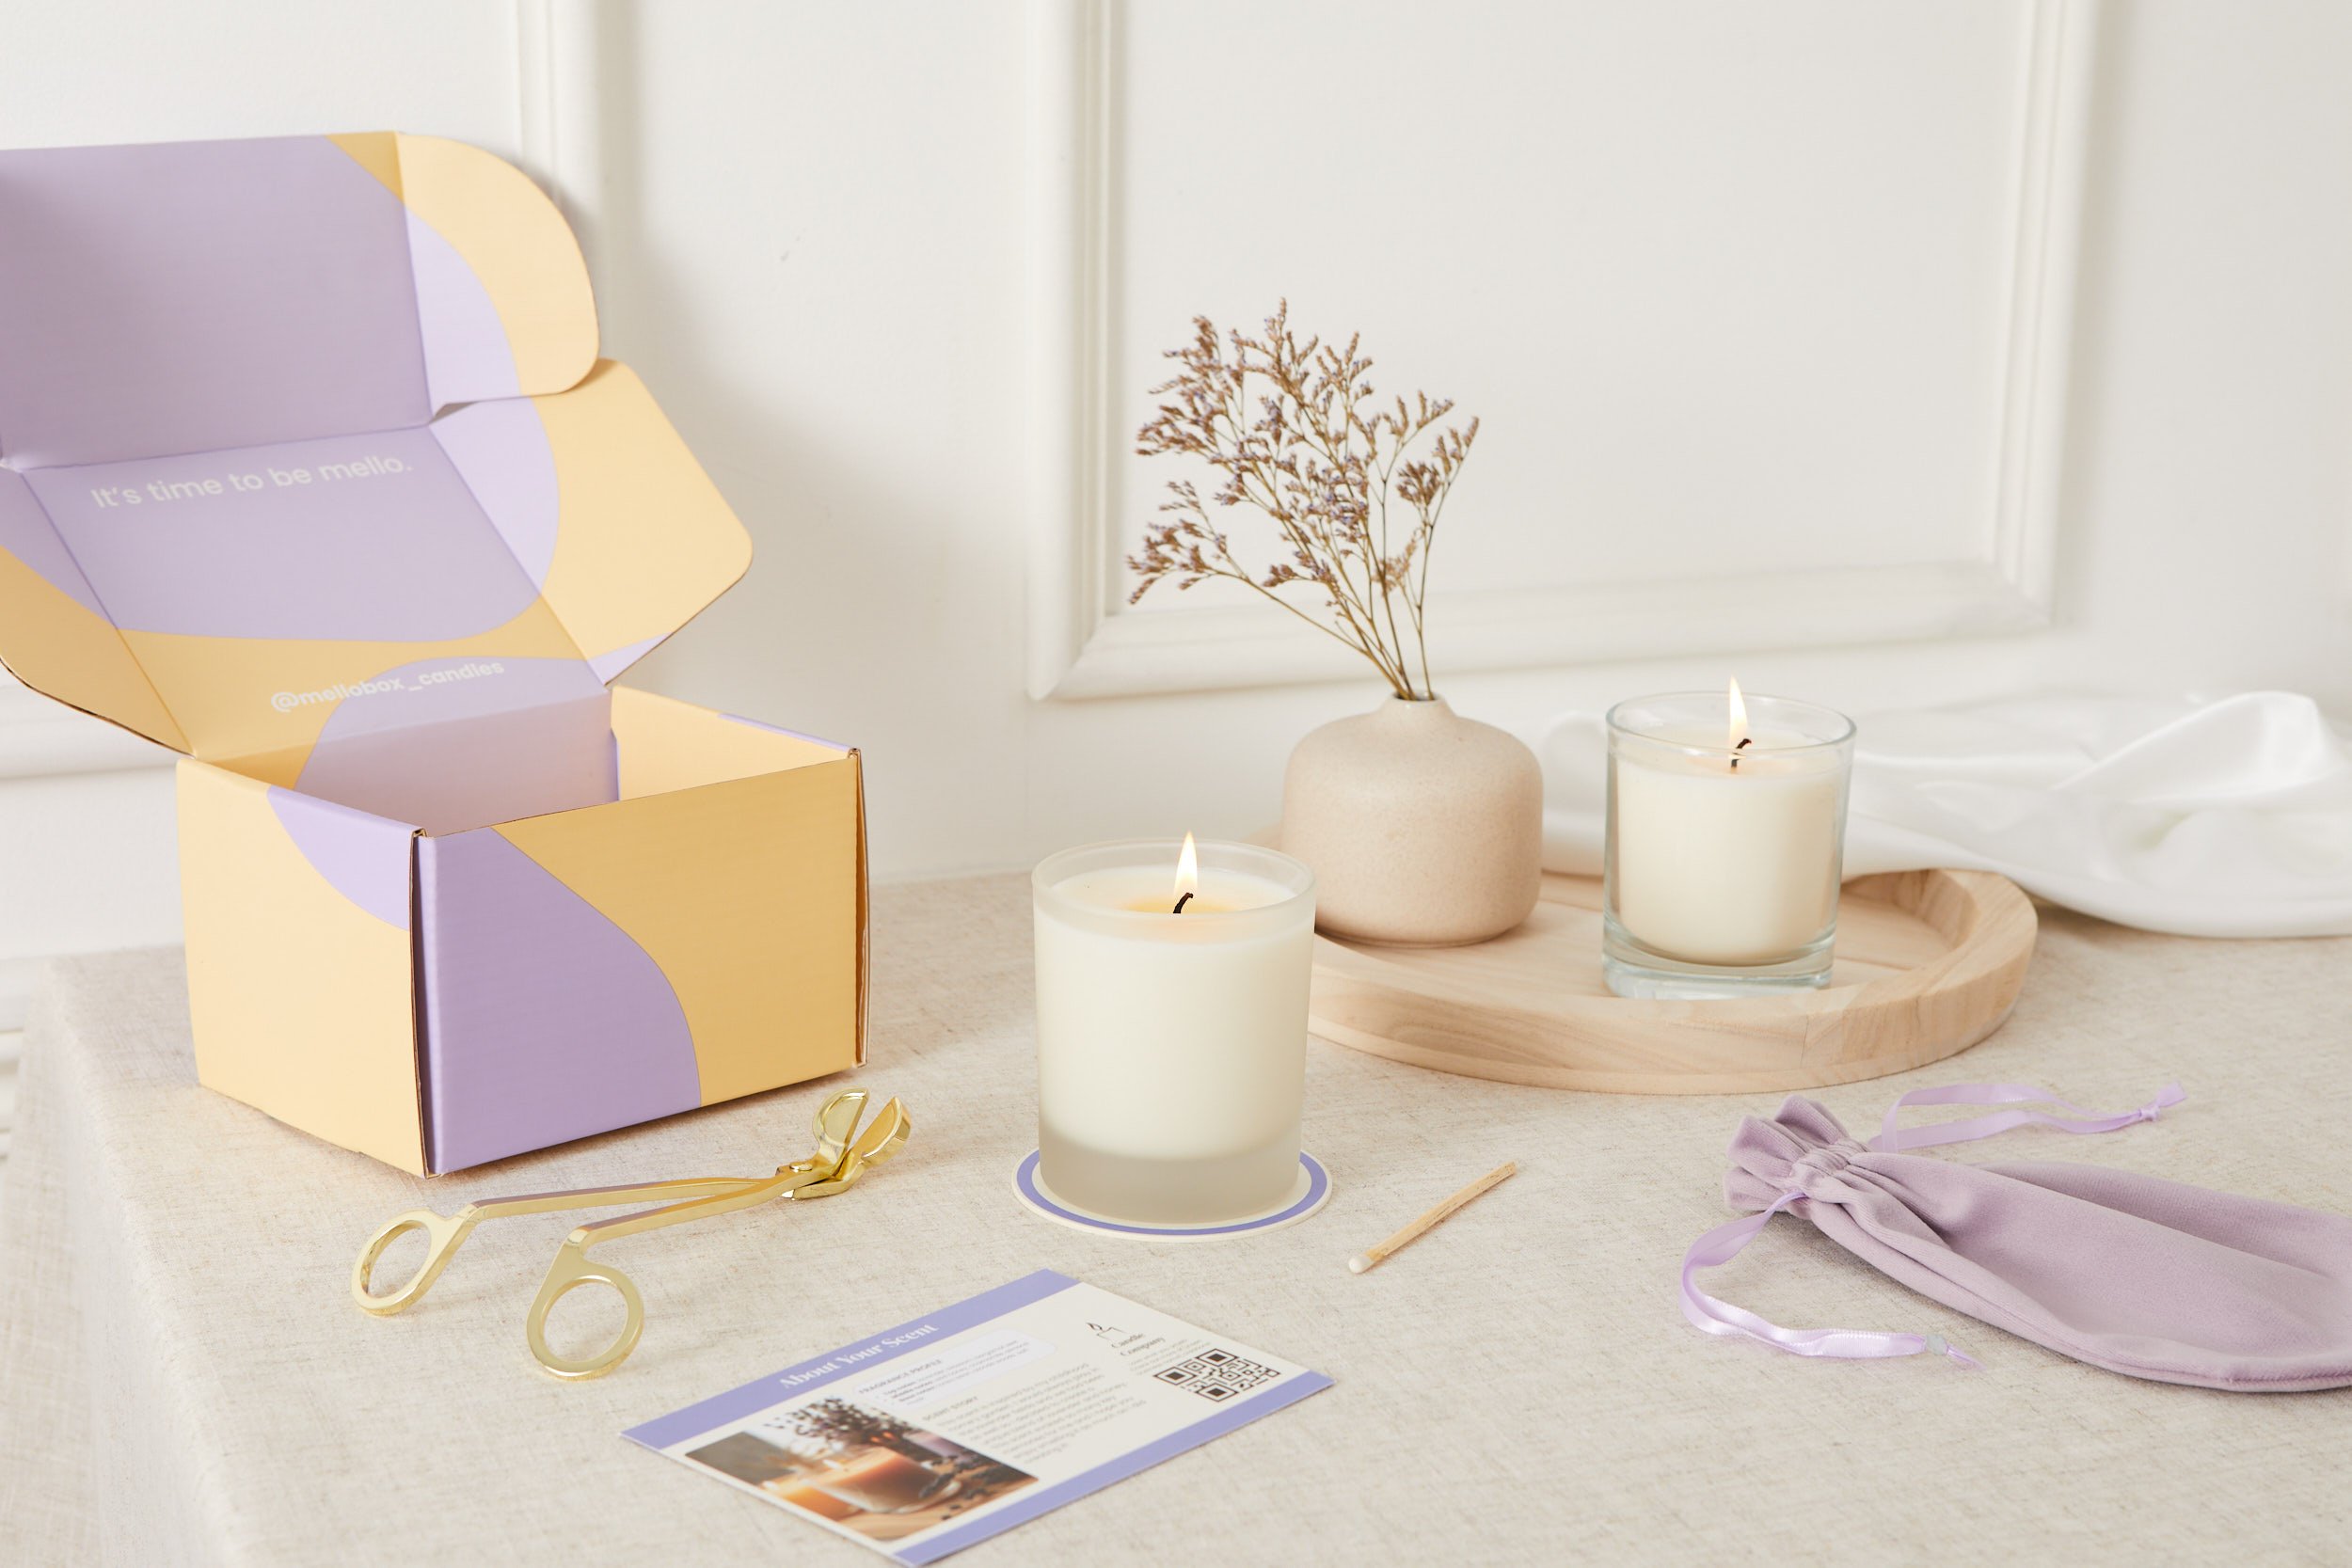
For props, think about what your candle evokes. A cosy autumn candle might sit beautifully alongside a stack of books, a mug, and some dried foliage. A fresh botanical scent might suit a clean marble surface with a sprig of eucalyptus. Choose props that tell your brand story, and always keep them secondary — they should support your product, not steal attention from it.
My favourite prop tip for candles: a small trinket dish or plate underneath the candle adds height and context without overwhelming the composition.

Shot Types to Include
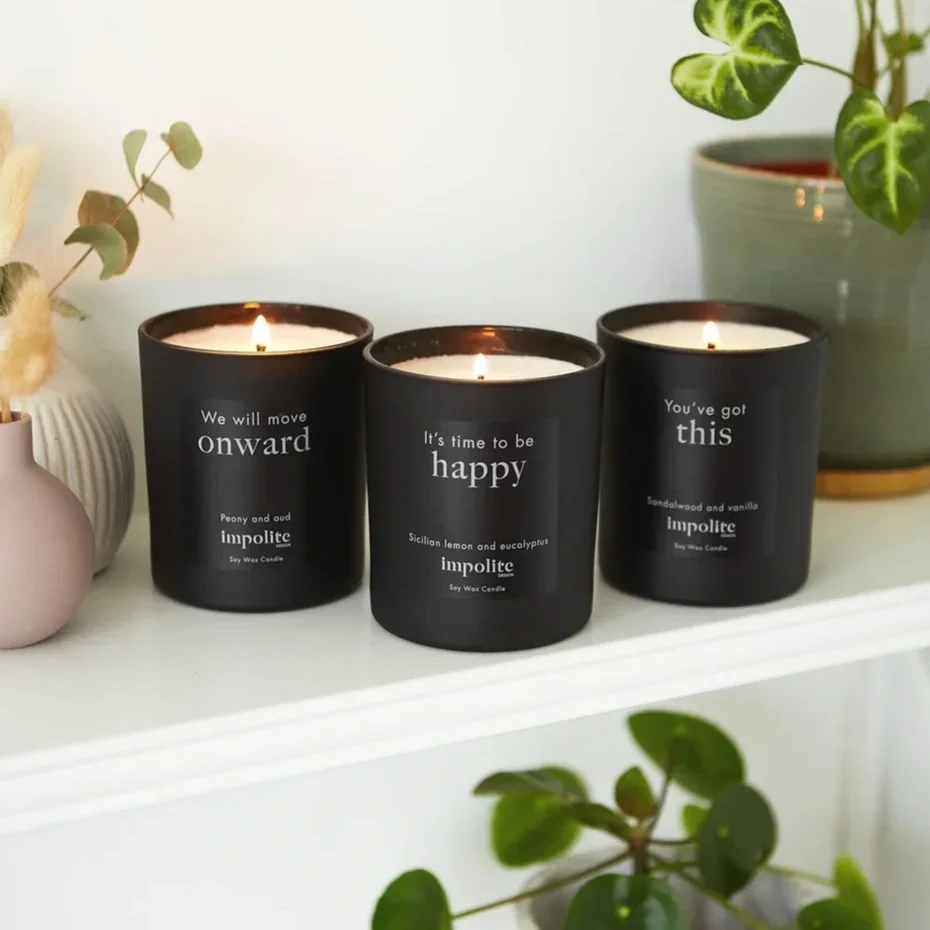
Don't just take one photo and call it done. A strong candle listing benefits from several different types of shots. Your hero shot is your main listing photo and should be clean and focused. A 45-degree angle shot shows the depth of the jar and the wick. Also consider a lifestyle shot showing the candle lit in a home setting, and a packaging shot showing how it arrives to the customer. Together these give your buyer every piece of information they need to feel confident pressing buy.
A Simple Candle Setup to Try Today
Here is a quick setup that works really well and costs almost nothing to try. Place a piece of light-coloured paper as your background, curving it from the surface up against the wall (this removes the join line between surface and wall). Set your candle in the centre. Place a small white foam board to the side opposite your light source. Light your candle. Shoot from slightly above and to the side at roughly a 45-degree angle.
Take a few shots, then try moving the foam board closer and further away and watch how the shadows change. You'll very quickly start to see what works for your particular setup and brand.
Editing Your Candle Photos
Once you have your shots, a simple edit can elevate them significantly. Adjust the exposure to brighten slightly, add a small boost of warmth to enhance the candlelight feel, and tweak the contrast to make the image feel a little more defined. Avoid oversaturating — real candle light is warm but subtle.
Ready to Go Deeper?
Everything covered here — lighting setups, camera settings, styling, shot lists and editing — is laid out in detail in my DIY Product Photography e-book. It's designed specifically for makers, designers and small business owners who want to take control of their product photos at home, step by step. You can grab a copy here
Freebies
You can also download my free guides, such as moodboard template or Product Photoshoot Checklist: